Reproduction Polished Stainless Steel Engine Compartment Dress Up Kit for the 1967 and 1968 Mercury Cougar
Click on images to enlarge.
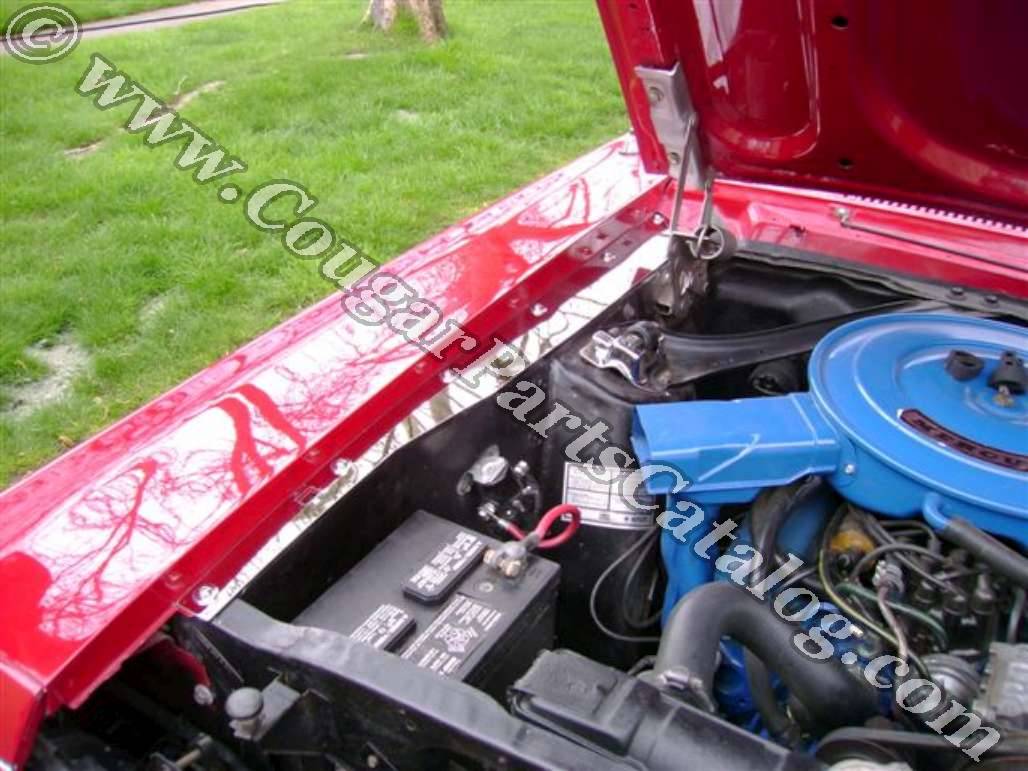
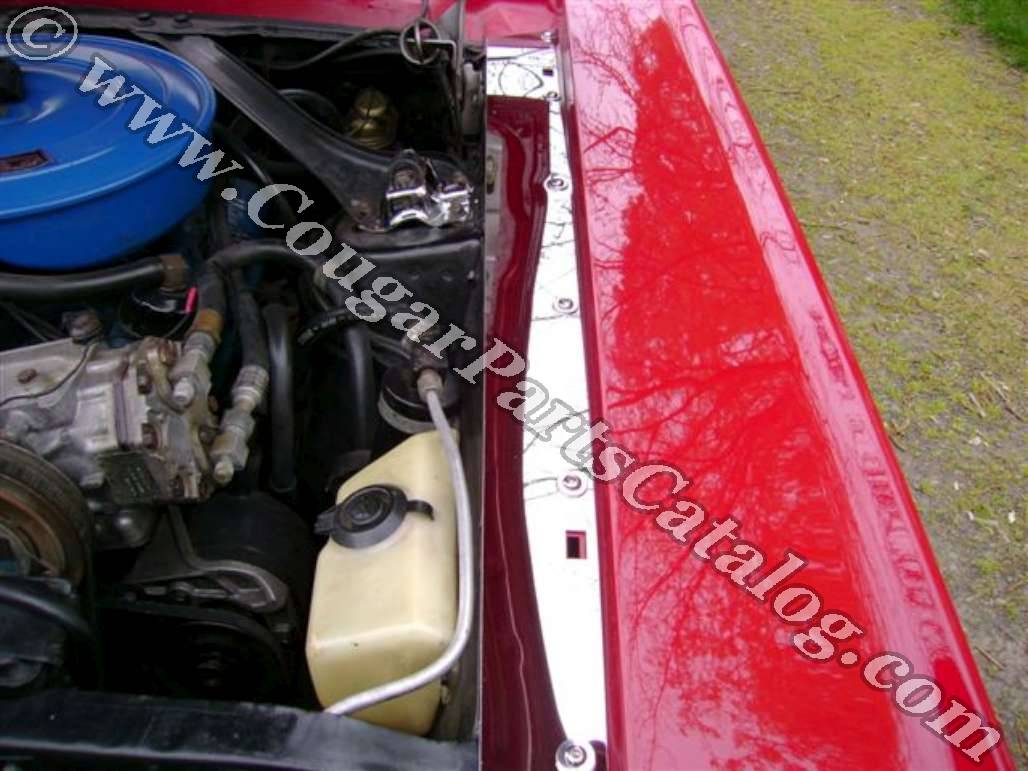
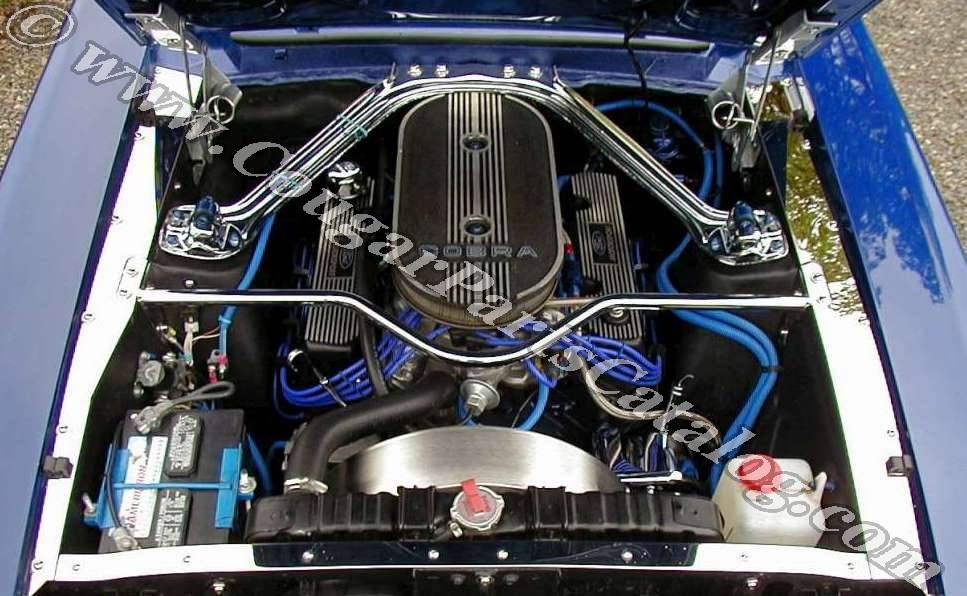
Installation Instructions
- You will need a few tools to install your kit. A Standard socket set and wrenches, a
set of standard alien wrenches, a utility knife, anti - seize compound, a electric
drill, a new sharp 9/32 drill bit, rubber tipped clamps, lacquer thinner, window
cleaner, black permanent pen and soft clean cotton baby diaper for cleaning your kit.
- Carefully remove all your parts from the box
- Find your fastener bag, remove all fasteners and put a small amount of anti - seize
compound on the stainless steel threads. THIS IS A VERY IMPORTANT STEP
IT HELPS TO PREVENT STRIPPING OF THE THREADS.
- Remove your old hood bumpers
- Carefully unbolt the top row of bolts holding the fender lip to the top of the
engine compartment. Start with the drivers side.
- Carefully remove your sheet metal parts from the bubble rap, do not cut into your
sheet metal parts. Leave the white plastic on the sheet metal until ready to install.
- Find the piece marked DRIVERS SIDE, carefully lay this piece on the engine
compartment drivers side with the white plastic up, visually lining up with the
fender holes and hood bumper openings. This kit is designed off of cars that have
not been wrecked in the front, if your car has had front end damage or after
market fenders you may need to oblong the holes in the kit to make it work. For
more serious problems you can call the phone number at the end of the
instructions.
- Once you see that the fender holes and the hood bumper slots line up close,
carefully remove the white plastic and lay the polished sheet metal in place, put
together the 5/16 button head alien fasteners and a new 7/8 stainless fender
washers, insert into the holes of the sheet metal piece and then thread into the car,
Don't tighten yet, just loose. NEVER LAY TOOLS ON YOUR NEW SHEET
METAL KIT, DOING SO WILL SCRATCH YOUR NEW KIT.
- For the passenger side, repeat steps 7 and 8 with the sheet metal marked
passenger side.
- The third piece is the center strip that goes across the radiator support.
NOTE: Do not remove the center strip white plastic until later. In order to get the
center strip piece to line up the best, you need to slightly bend the strip to conform
to the saddle shape that is in your radiator support brace. This piece will bend
very easily, so be careful, only slight bends are needed to mimic the shape of the
radiator support brace. BE CAREFUL WORKING ON THIS CENTER STRIP
AREA BECAUSE YOU HAVE THE POLISHED DRIVERS SIDE PIECE AND
POLISHED PASSENGER SIDE EXPOSED. YOU MIGHT WANT TO COVER
THEM WITH SOMETHING CLEAN AND SOFT.
- Lay the center strip piece that you just bent to shape on top of the of your radiator
support brace, clamp in place(rubber tipped clamps work the best to prevent the clamp from cutting through the white protective plastic and scratching the metal). Make sure
the center strip is centered evenly between the drivers side polished piece and the
passenger side polished piece.
- Once you have clamped the center strip piece where you want it, use it as a
template for marking the holes on the radiator support with a permanent pen.
- Carefully remove the clamps and the center strip sheet metal and drill the marked
hole areas through the radiator support with the 9/32 drill bit BE CAREFUL NOT
TO DAMAGE YOUR RADIATOR. After the holes are drilled carefully remove
the white protective plastic from the center strip and insert the 1A -20 x 3A button
head bolts through the center strip sheet metal and then through the radiator
support holes that you drilled. Then thread on the W nuts underneath. Tighten
snug.
- Now snug up the 5/16" button head fasteners on the drivers side and passenger
side at this time, make sure the hood bumper slots line up with the kits. The kit
has larger openings for the hood bumpers to go through.
- HOOD BUMPERS: You will have to trim the bottom of the hood bumpers to
compensate for the thickness of the dress up kit sheet metal.
- CLEANING: Window cleaner is usually the best way to clean unwanted fingerprints from your stainless. Take great care of your kit and use only soft clean cotton cloths
or silk cloths to clean your kit. NEVER SET TOOLS ON YOUR KIT. ONCE THE PROTECTIVE WHITE PLASTIC HAS BEEN
REMOVED FROM THE SHEET METAL AND IS INSTALLED ON THE CAR,
YOU MUST USE A COTTON SWAB AND LACQUER THINNER TO REMOVE THE
RESIDUE FROM AROUND THE BORDERS. AFTER THIS IS DONE, USE WINDOW CLEANER AND A SOFT CLEAN COTTON CLOTH TO REMOVE ANY SMEARS.
For problems or questions call 541-621-8411 9:00 am to 5: 00pm PST Monday through Friday.