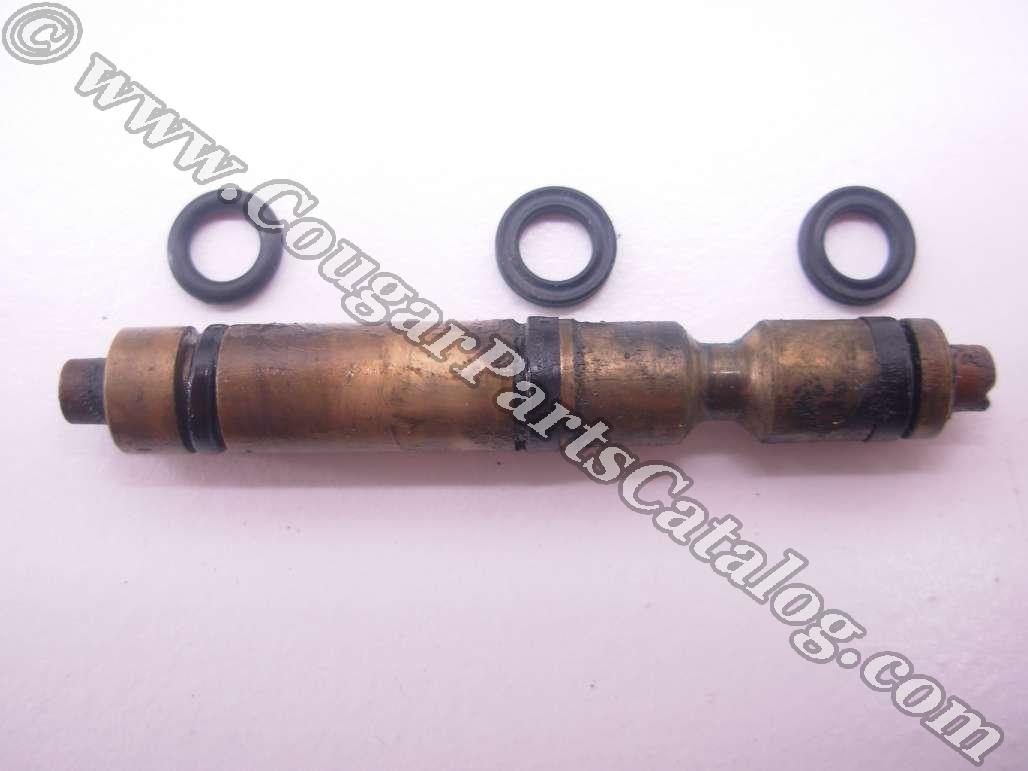
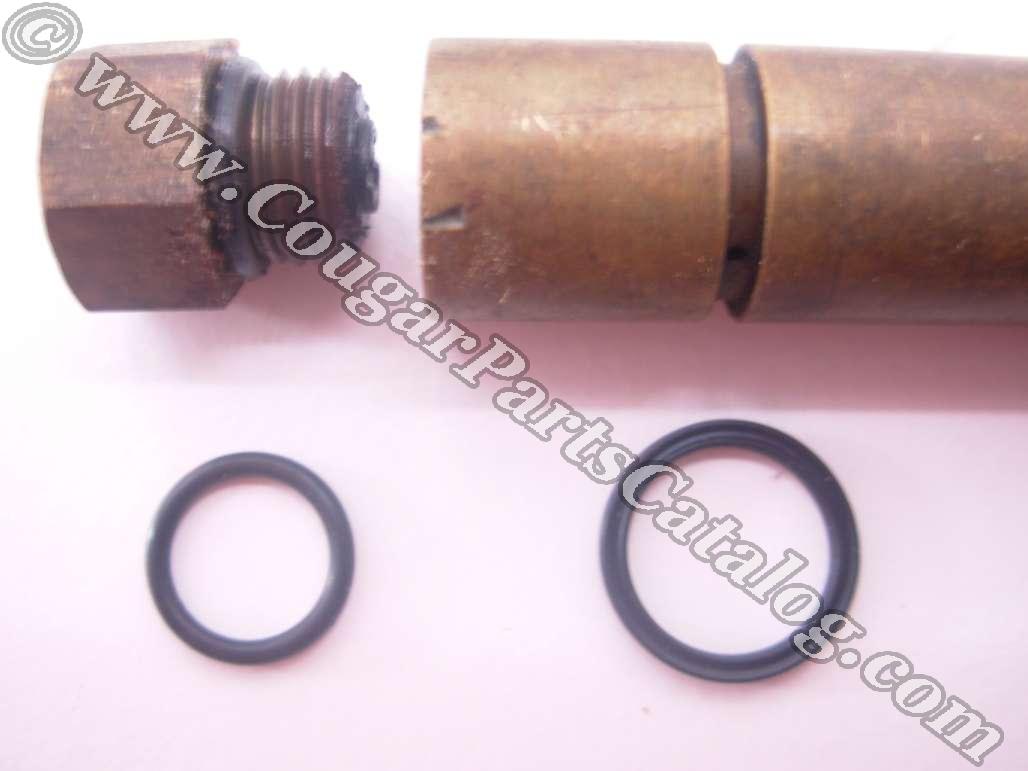
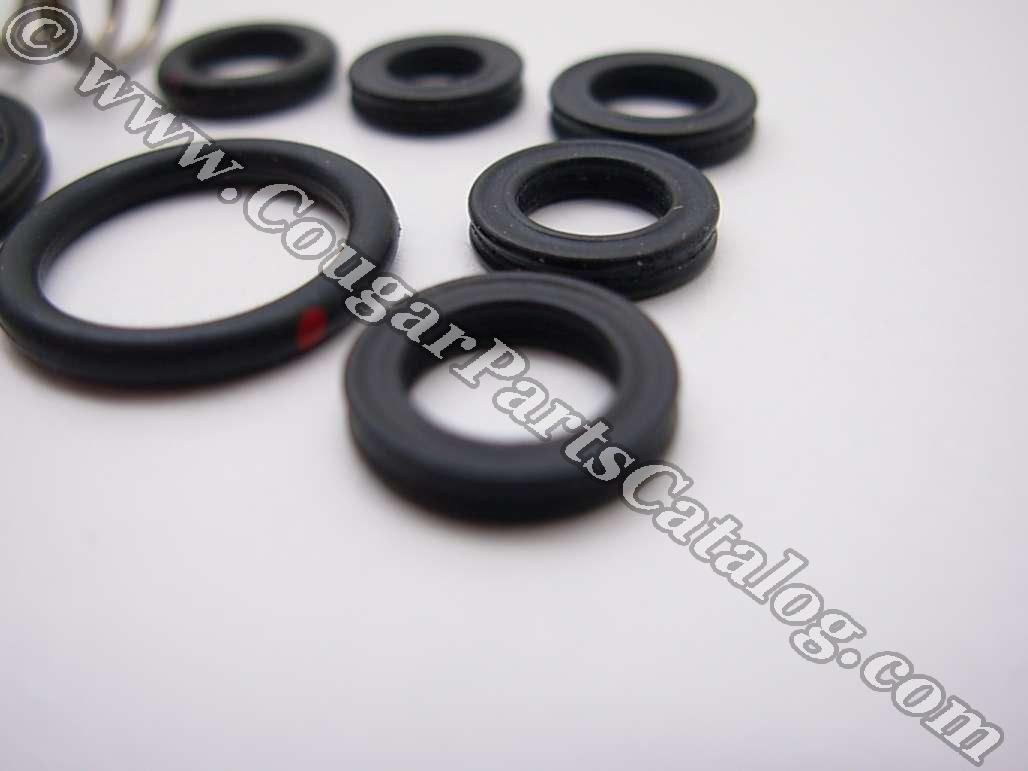
New disc brake proportioning valve / distribution block seal and rebuild kit for the Mercury Cougar or Ford Mustang / Torino. Every 1967-69 Cougar, Cyclone, Torino, Ranchero and Mustang equipped with disc brakes needs this kit even if you are not leaking fluid yet. These little "O" rings are always "rock hard" after 40 plus years because the original O-rings are composed of a BASIC nitrile compound. After several years, the absorption of brake fluid will change the molecular structure of the nitrile causing it to harden, contract & then crack. Our O-rings are made from EPDM (Ethylene Propylene 70 Durometer) which is designed SPECIFICALLY to withstand chemical degradation caused by prolonged exposure to brake fluid. This is a serious safety issue that you really should be concerned about. We custom made the proportioning valve spring from the exotic alloy INCONEL, which will never rust and will retain its factory specification compression strength many times longer than the originals. If your original spring is still intact, it has for sure lost its memory many years ago. The original units were never designed to last 40-50 years. This kit carries an unlimited lifetime warranty against material failure. Other terms used for this valve include Pressure Differentiation Valve, Disc Brake Pressure Control Valve, Pressure Reduction Valve or Brake Limiter Valve. Some 1967 proportioning valves are at the rear axle.
*Note* This kit will not work with the reproduction disc brake distribution block assembly.
*NOTE* If you have a serviceable proportioning valve / distribution block that you would like send us for credit, just mention it and we will include a prepaid shipping label and give you up to $60.
Check out this video:
Below is an older write-up we did with pictures showing the same process. Note - this kit used to be 8 pcs, but is now 9 since it now includes the copper washer.
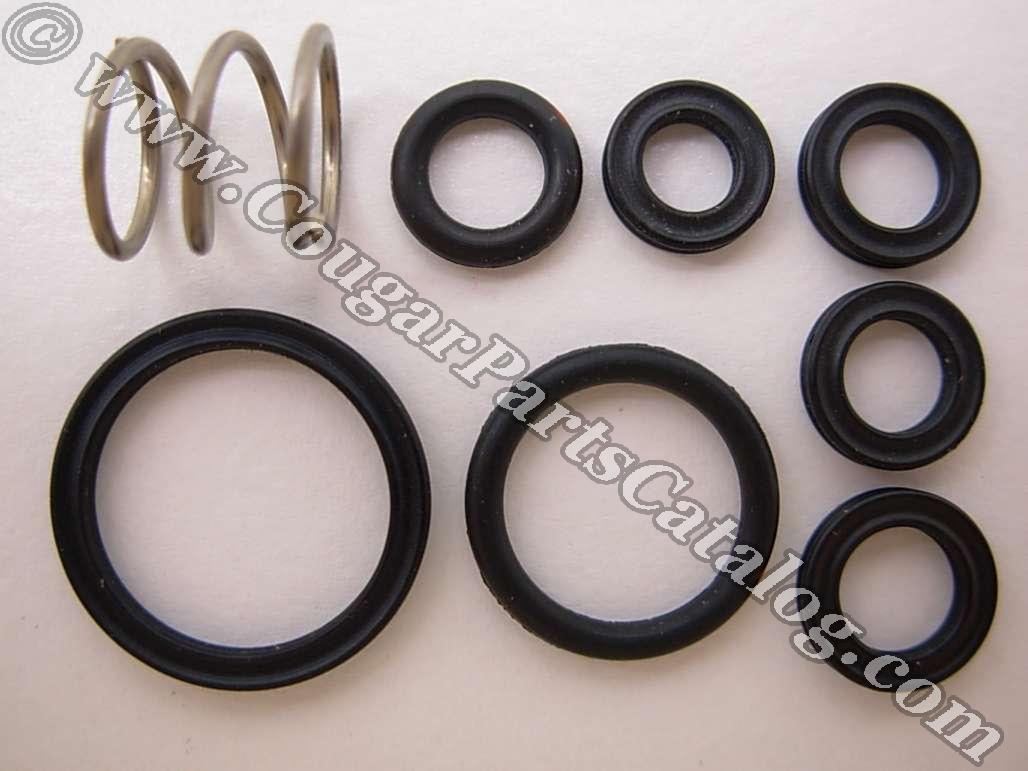
Shown here are the 8 pieces of the kit for your Cougar / Mustang / Torino / Fairlane power disc brake proportioning valve and distribution block. The 1967 version not only looks different inside and out but the cylindrical proportioning valve will be located near the rear differential instead of on the driver side rear inner apron as found on the 1968-1969 models.
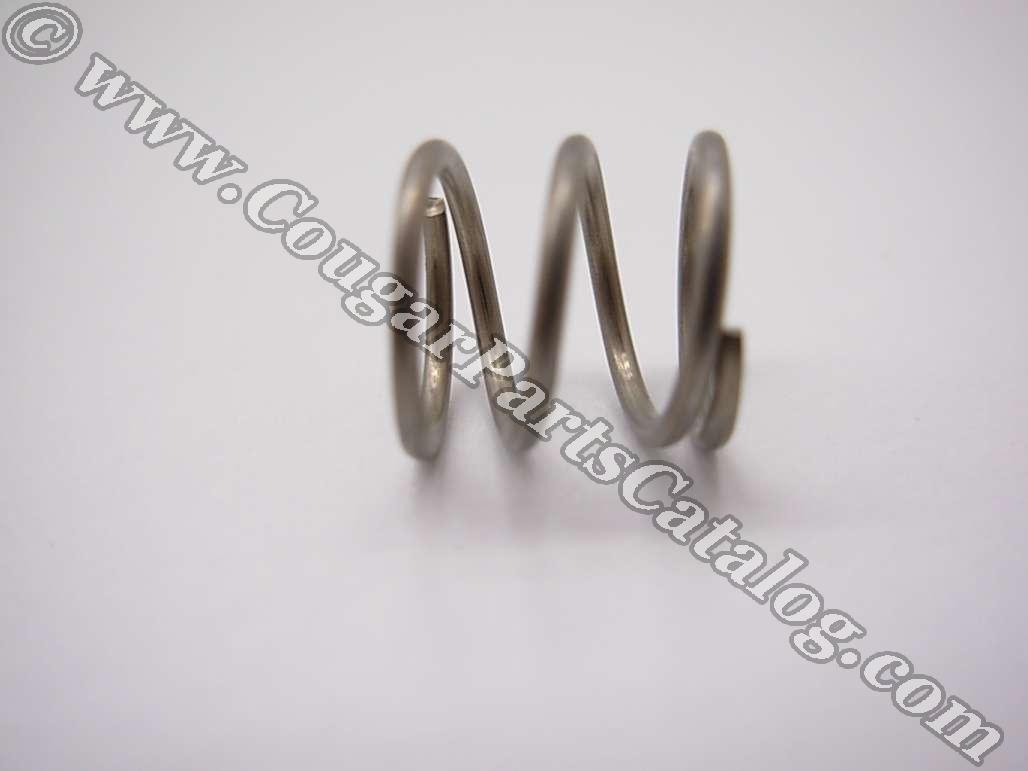
The spring included in this kit will never rust. Often when you open up an original valve for the first time the only trace of the old spring will be a blob of rusty paste.
This is what your assembly looks like on a 68-69 Mustang or Cougar. The Torino car line has different bends in the lines and a different bracket but the two components are the same internally.
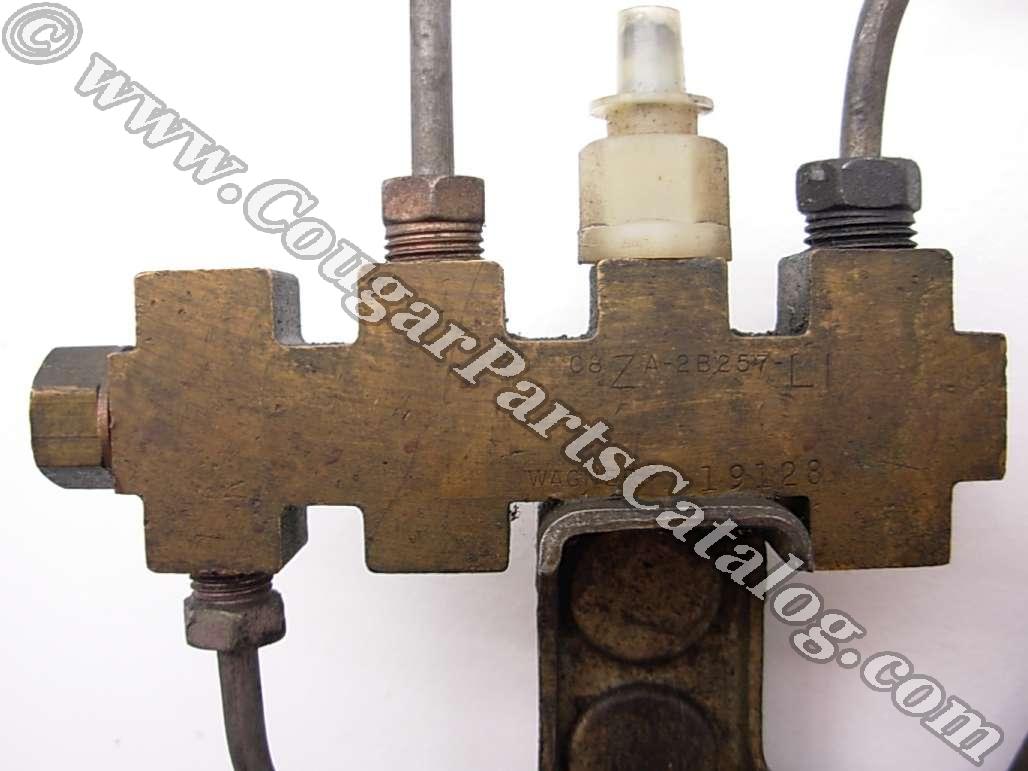
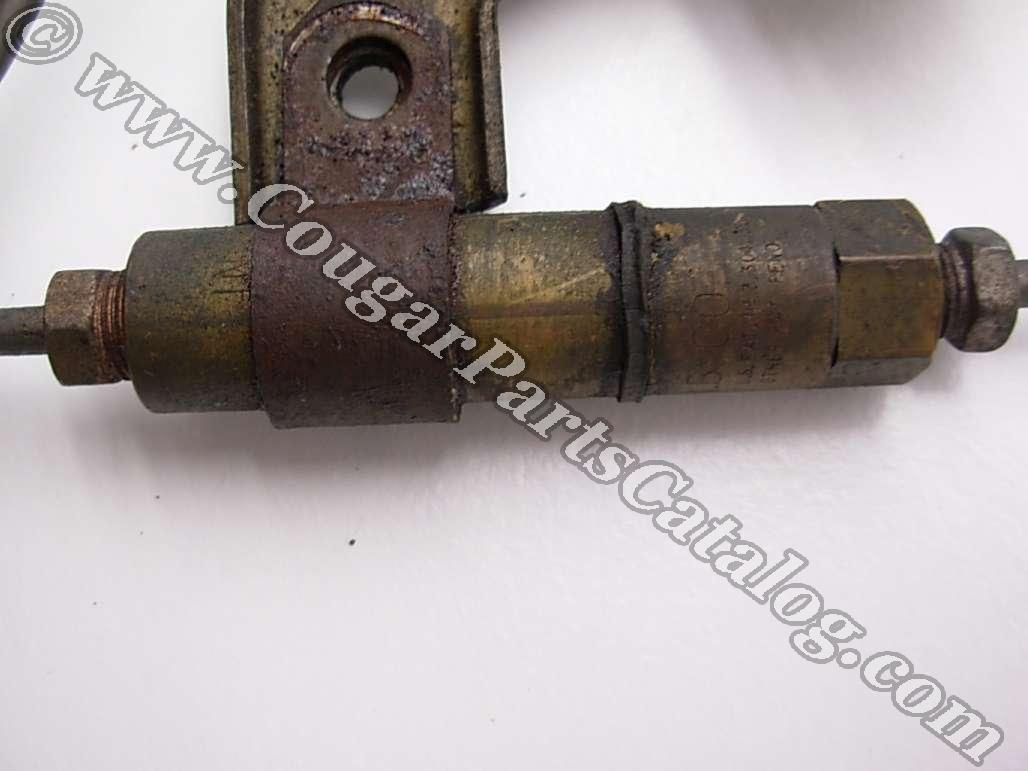
Don't even start this project until you have a quality, name brand set of line / flair nut wrenches in hand. Even with the proper tools some lines will be a challenge to remove. We recommend you save yourself the frustration and just cut the lines and purchase our new lines. After you cut the lines a box end wrench will easily remove the remaining fitting.
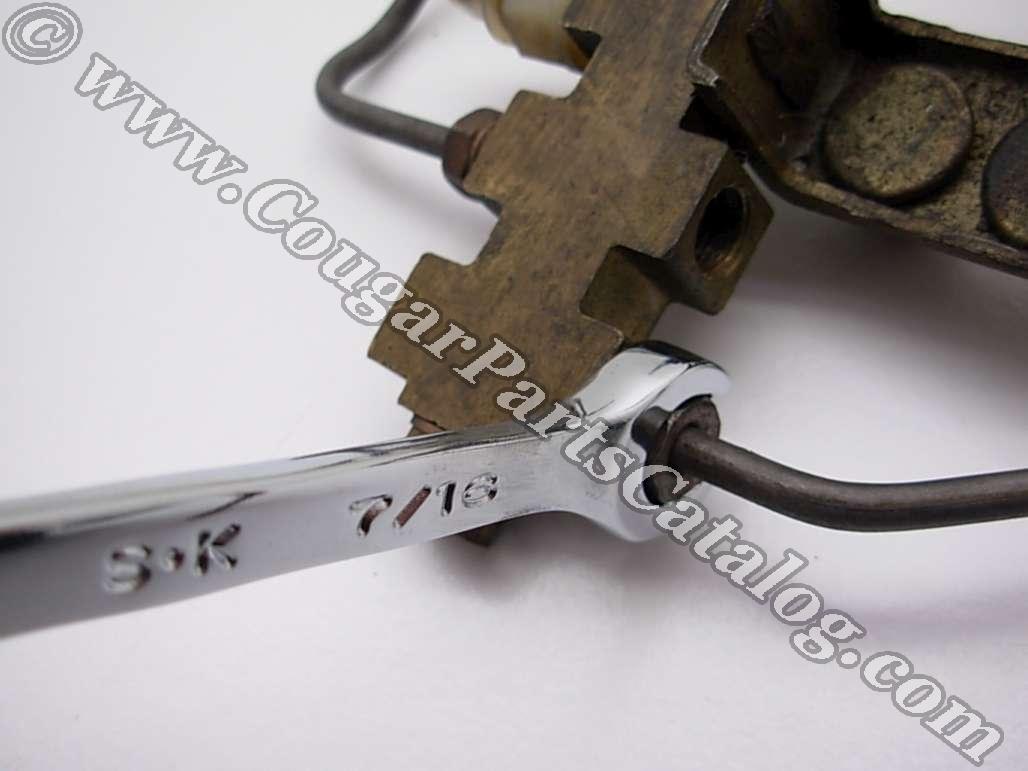
Often these two lines will get ruined when you try to unseat them after being in place for decades. We suggest buying new lines before you ever remove the valve, these lines are not included in our brake line kit.
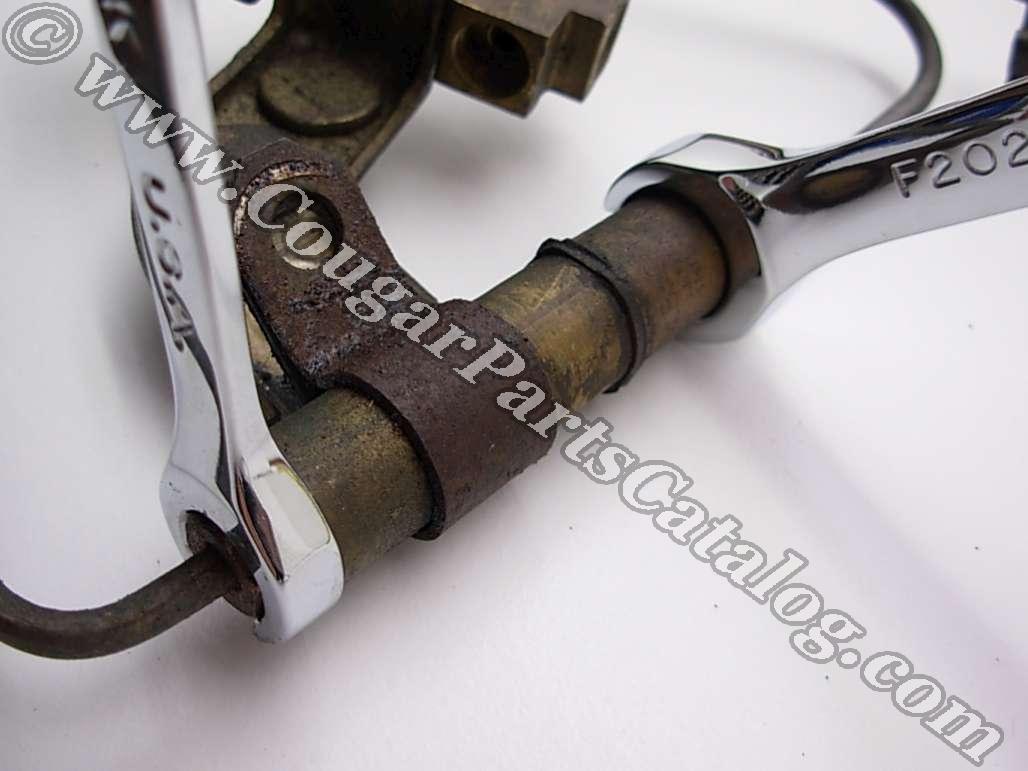
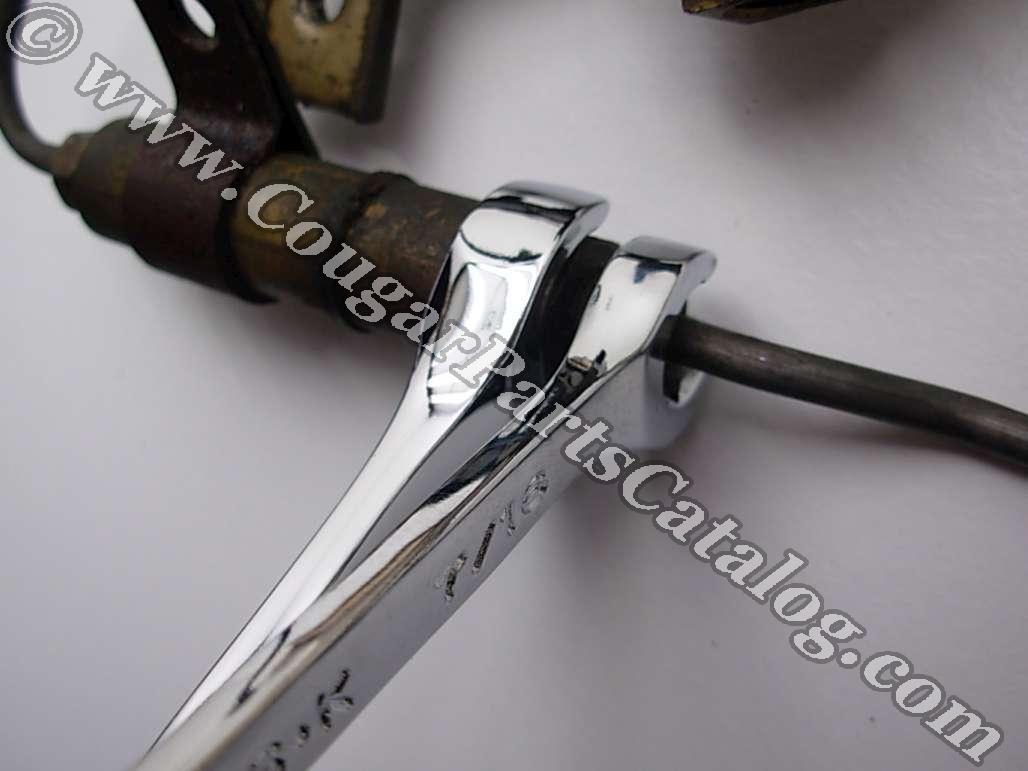
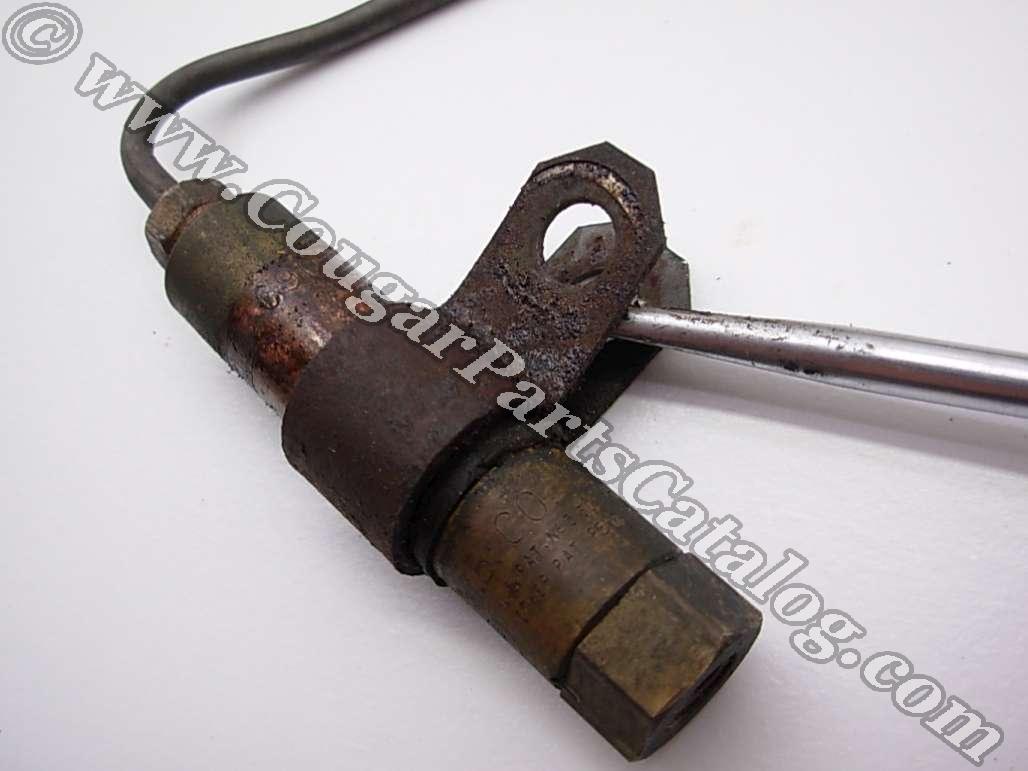
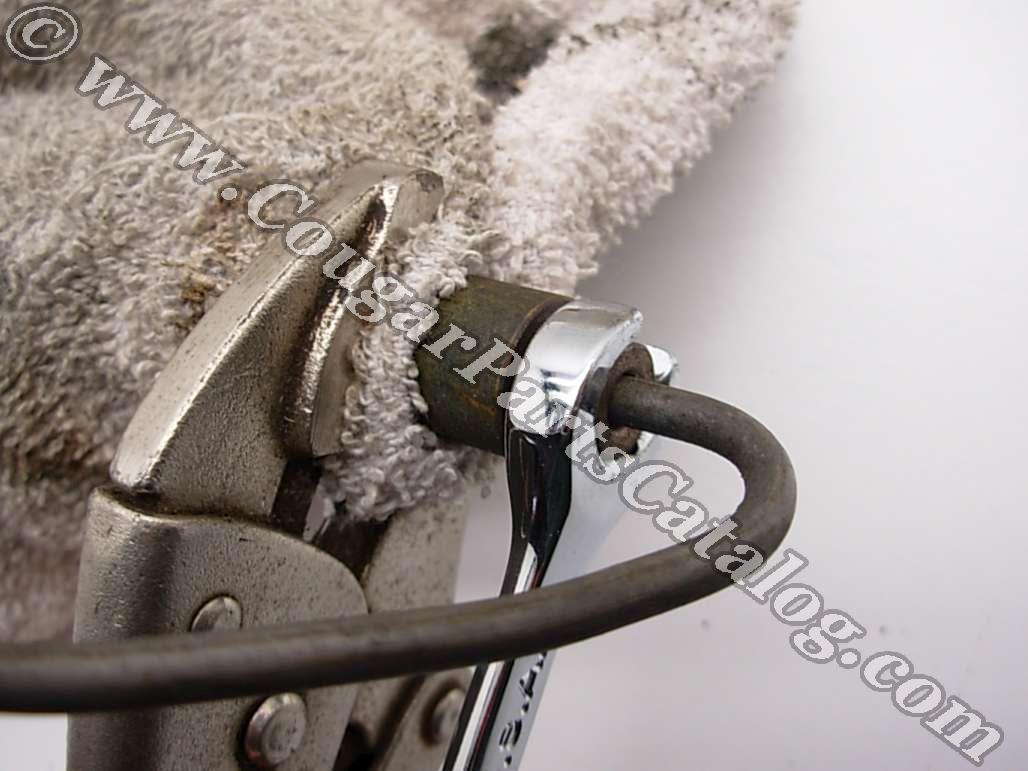
To get this line off, wrap a rag around the cylinder to prevent scarring the brass with the jaws of your vise grips. It will want to slip on you so two pairs of vice grips will be needed in most cases. Even then the wrench will often want to round off the fitting so you may want to slip a 6 point box end wrench over the line to get to the fitting. Go borrow a quality wrench if you do not have one, if you use a "budget" tool you will just frustrate yourself and ruin parts.
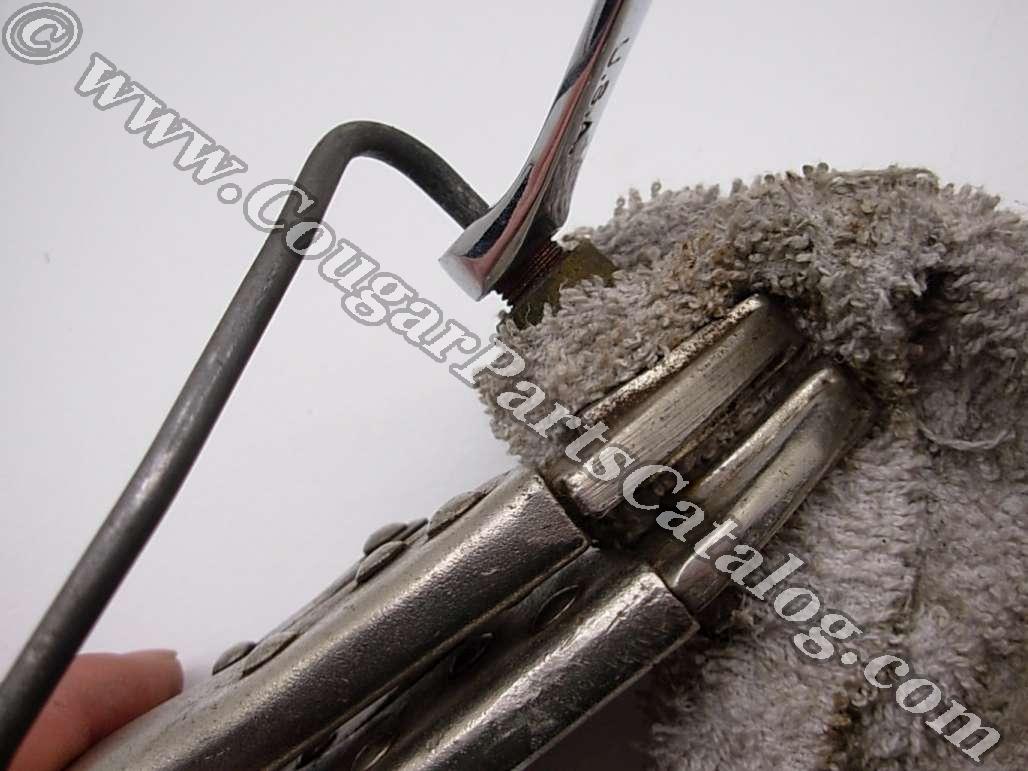
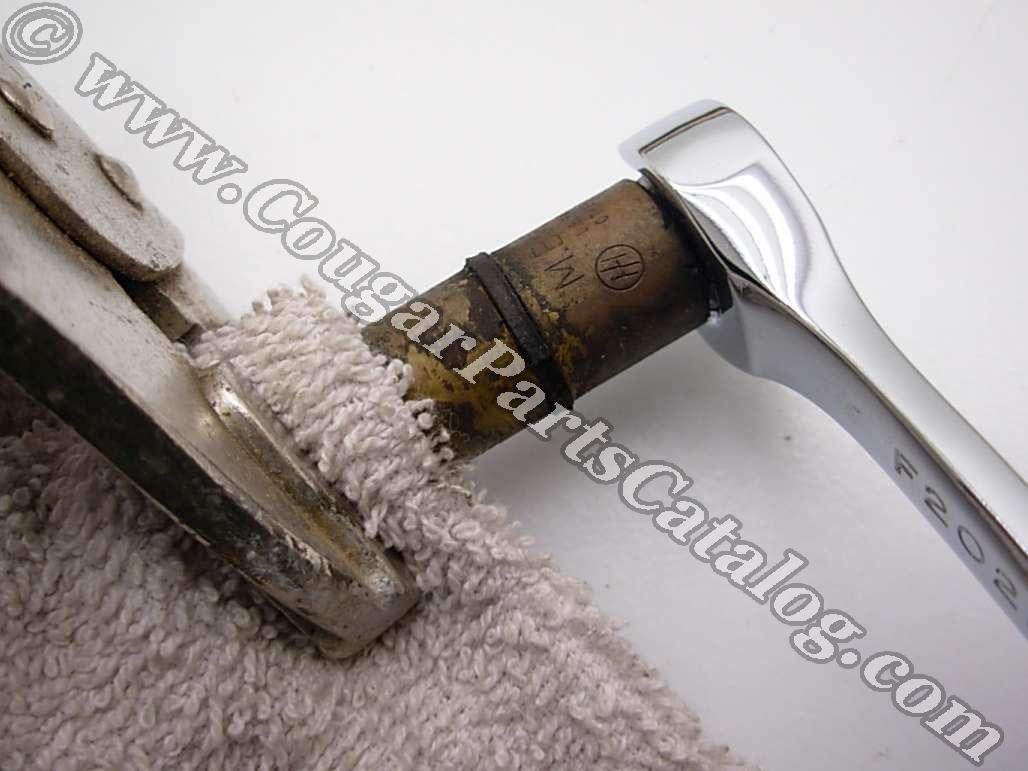
Here is a hint as to what we will find inside...
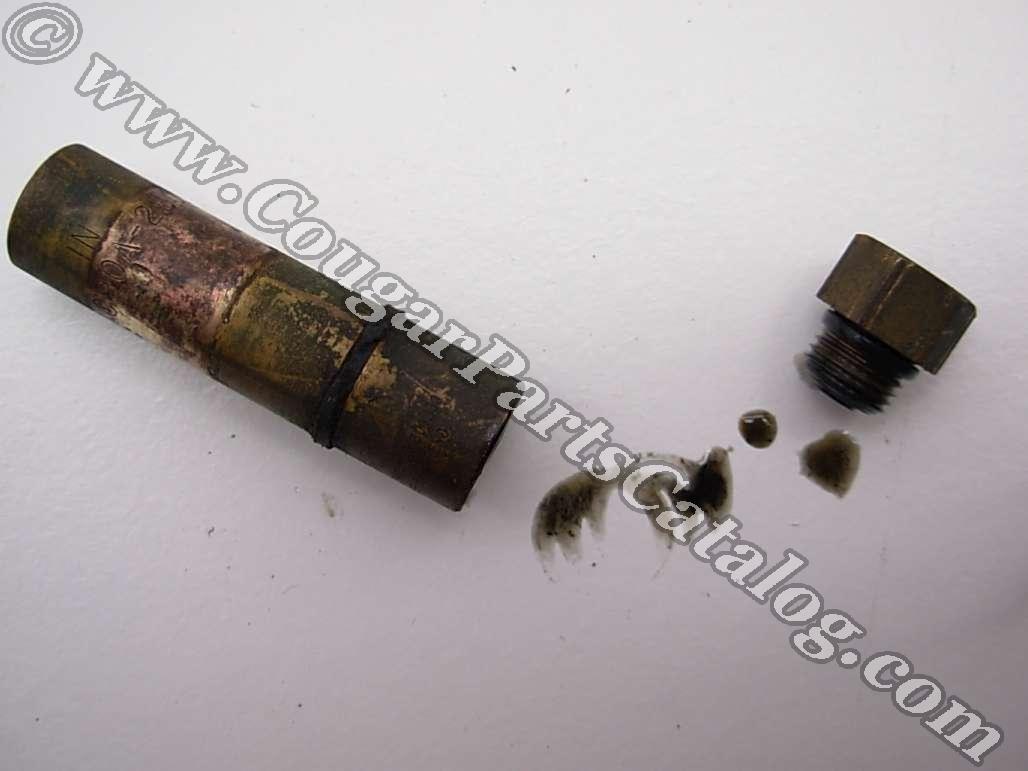
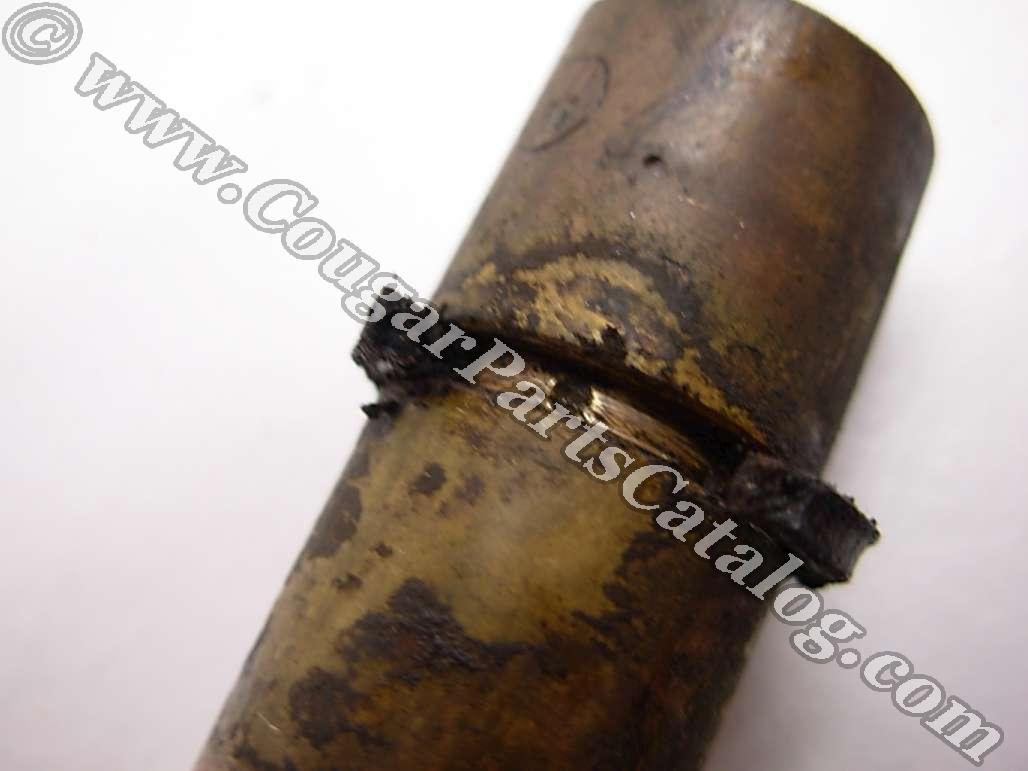
This outer "O" ring is not really a seal but a cover designed to keep contaminants out of the weep hole. The weep hole is there for when your internal seals go bad and the fluid needs a route of escape.
Very little of the original spring was intact on this one as you can see below...
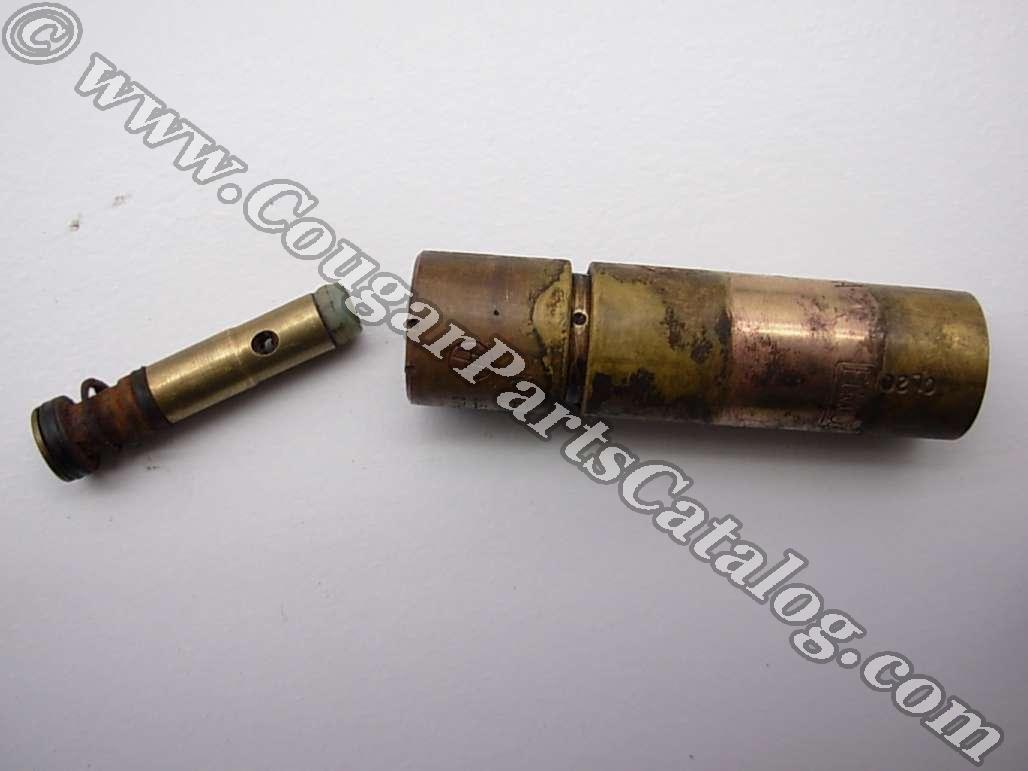
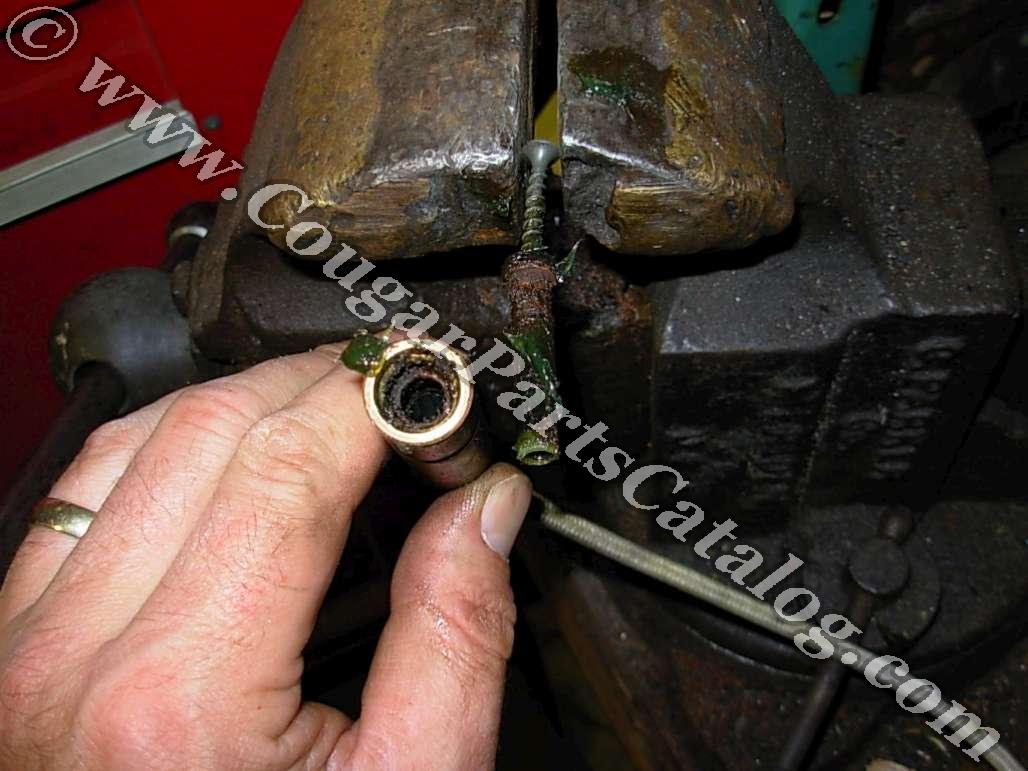
Getting this piston out of its housing can be very difficult depending on how much corrosion is present. On units where the piston moves freely you will be able to insert the blunt end of a drill bit in the valve to push the piston out ever so gently. On units that are froze up you will be tempted to "tap" on the drill bit to push the piston out. Very light tapping would be appropriate but what you cannot see until you get the piston removed is exactly what you are pushing on. If you tap too hard you will be destroying the little rubber ball housed in the white plastic hollow end. The rubber ball is resilient enough but the three delicate brass tabs that hold the ball in place can easily be broken off and the valve will become useless. So far the best solution we have found is using a grease gun to force the piston out. On our grease gun the end fitting easily screws off and then you thread the flexible grease gun hose directly into the valve. Of course, the piston has a small hole in the end that the grease would instantly flow through if not plugged so we thread a coarse thread screw into this hole (not too far). Next we put some heat on the end that the piston comes out of, don't do it on the other end as you may damage the plastic tip on the piston. Finally (for really stubborn examples) we place the head of the screw in a vice and for ultimate pulling power we use a claw hammer to pull as your helper cranks on the handle of a large, heavy duty grease gun. Even the most stubborn pistons will pop out when you have the high pressure grease pushing on it, the claw hammer pulling on it and the heat from your torch loosening it up! Check out this thread at mercurycougar.net to learn more. We would like to hear from those of you that have tried other methods and had success.
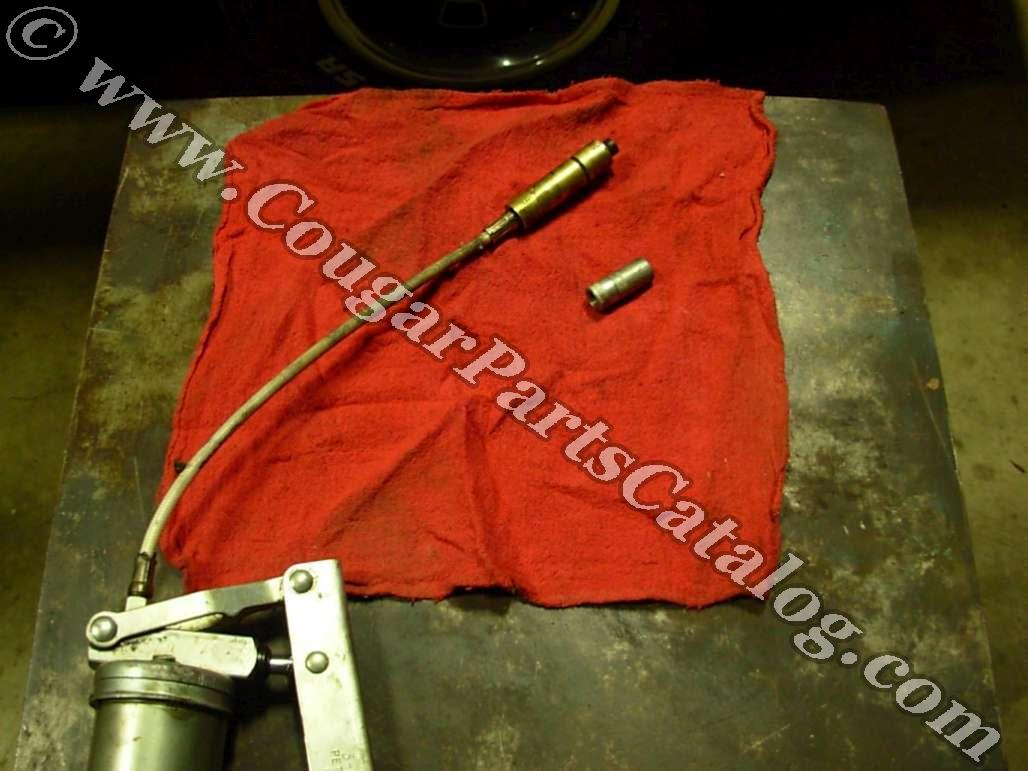

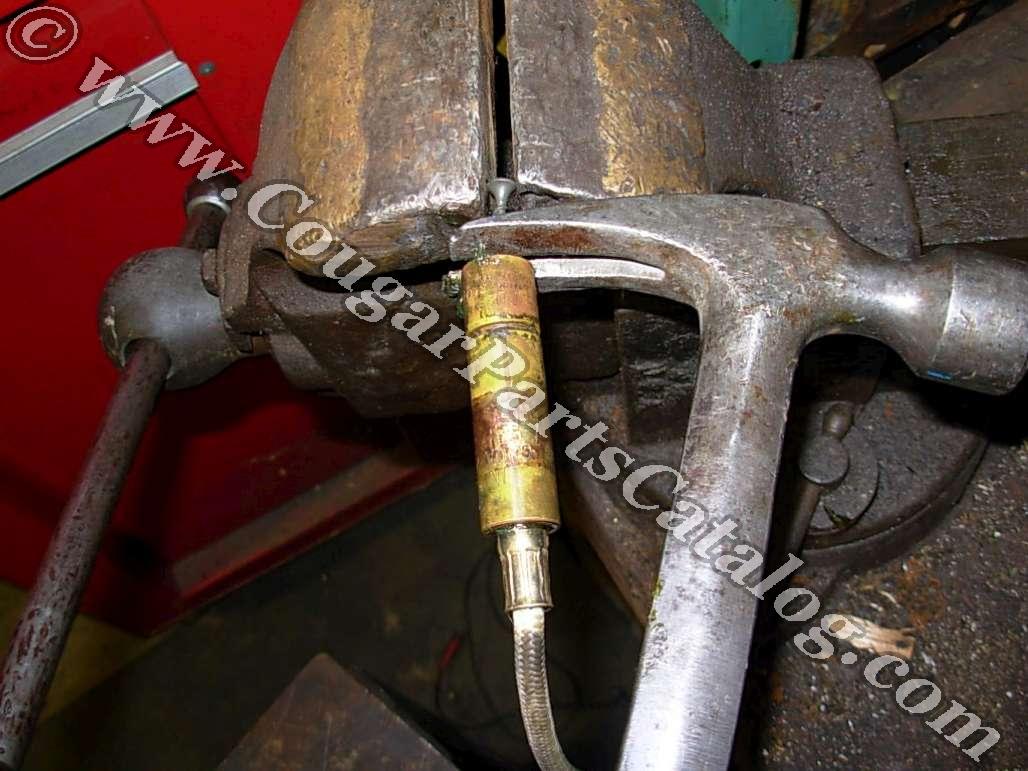
The picture above shows the flexible grease gun hose attached to one end of the valve with a sheet-rock screw threaded into the hole in the brass piston. Prior to setting this up we got the end opposite of the grease gun really hot, not glowing but HOT! Look at the picture below, this came from a car that had been parked outside for 20 years. It was REALLY stuck but we can honestly say it came apart in minutes with minimal effort.
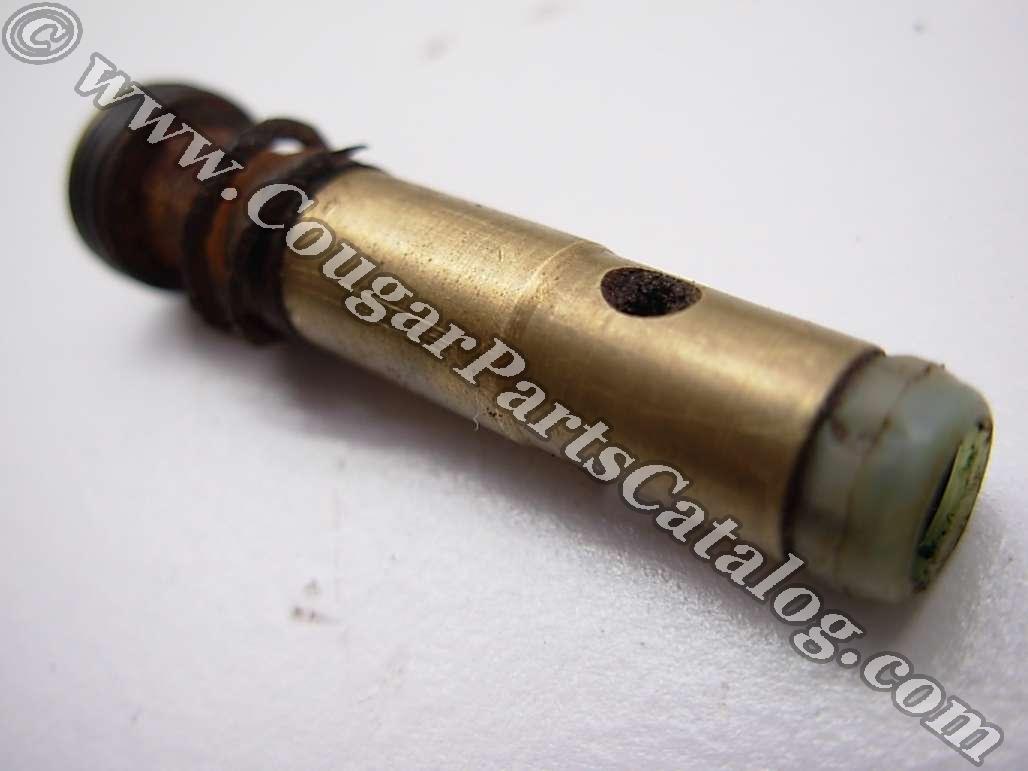
You can faintly see the rubber ball in this picture. This is what you are pushing on so be gentle!

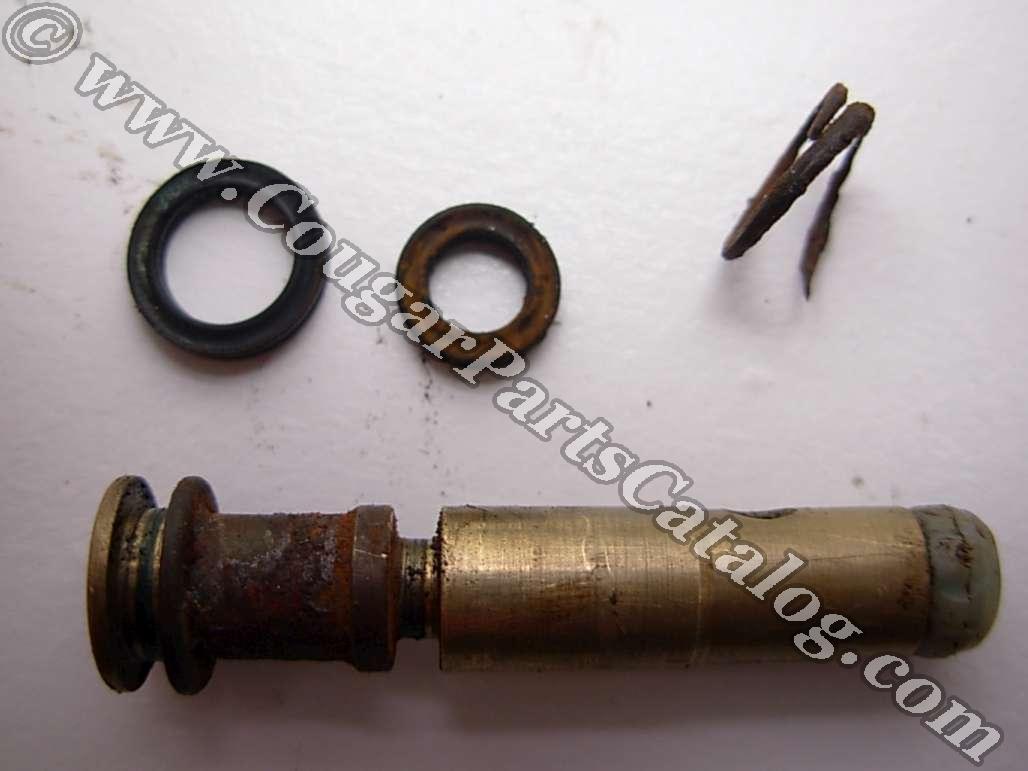
These seals were still actually pliable, often they will be cracked and hard. We never find good springs, 40 or more years of being immersed in brake fluid will destroy them every time. This piston can be easily cleaned up with fine steel wool.
Customer feedback: Hey guys! The grease gun method to remove the piston works just fine. Use the two handed long handle type of grease gun instead of the smaller pistol grip variety as you will need the extra pressure. Also, I had to put a tiny brass wood screw in the piston hole or grease just comes out the other end. Use the heat gun but not so hot that you can't touch it. Leaving the valve clamped to the mounting bracket and placing the clamp in a vice with a rag works pretty good for getting the lines off. You know your business but I don't think I would ever recommend tapping on the piston with the drill bit. An easy push would be fine but we know that rarely works. Thanks for coming up with this much needed kit! - Doug

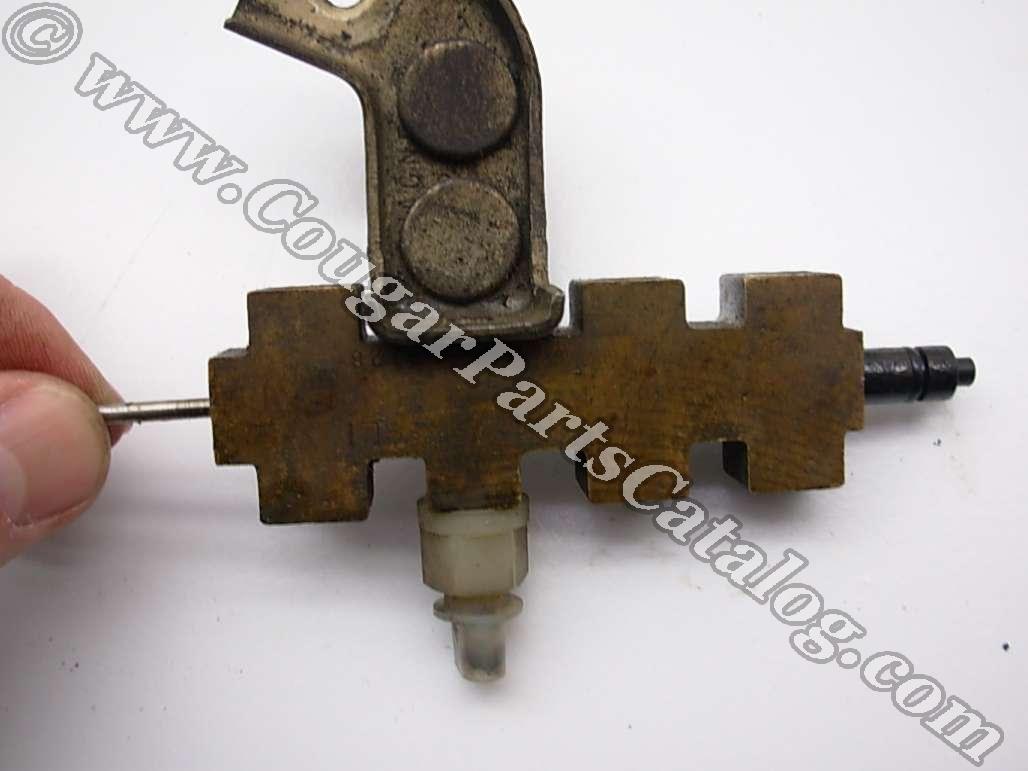
The distribution block is much easier to get the piston out of because you can tap it out from the backside without damaging any fragile parts. In the picture below I am using the blunt end of a size appropriate drill bit to push the piston out.
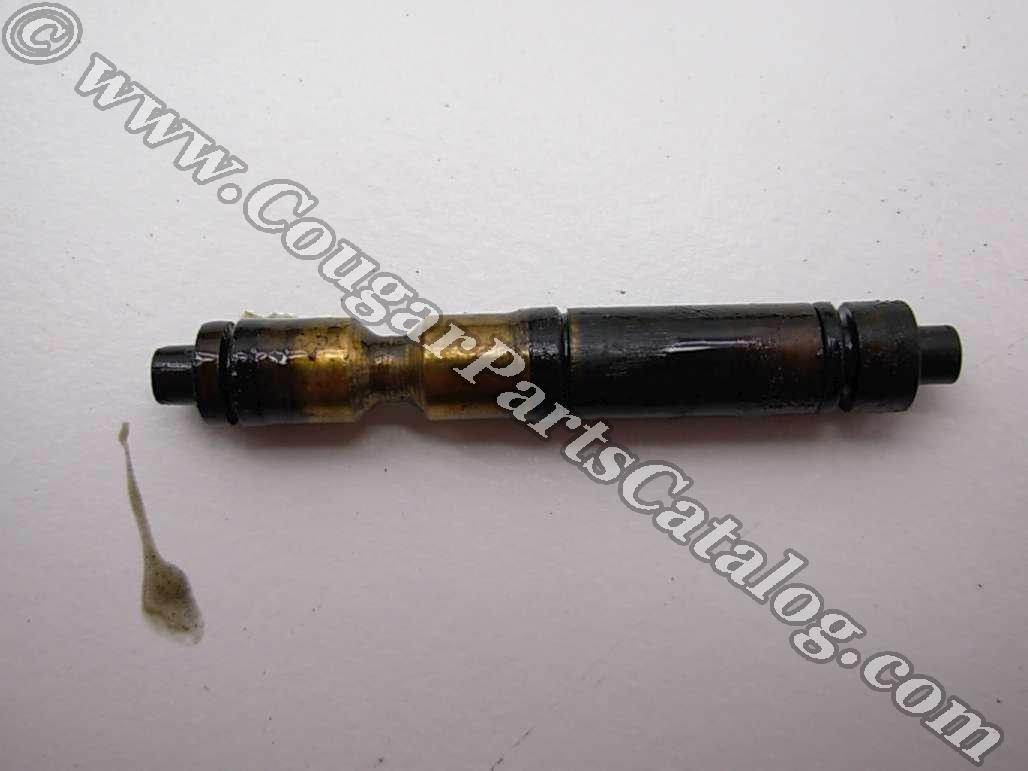
Below are all eight pieces laid out next to the positions they were they should be reinstalled. Fine steel wool and patience will get these dirty old brass parts looking like new but I have found the best thing to use is a brass gun bore brush and ATE DOT 4 Type 200 brake fluid as both a cleaner and lubricant.
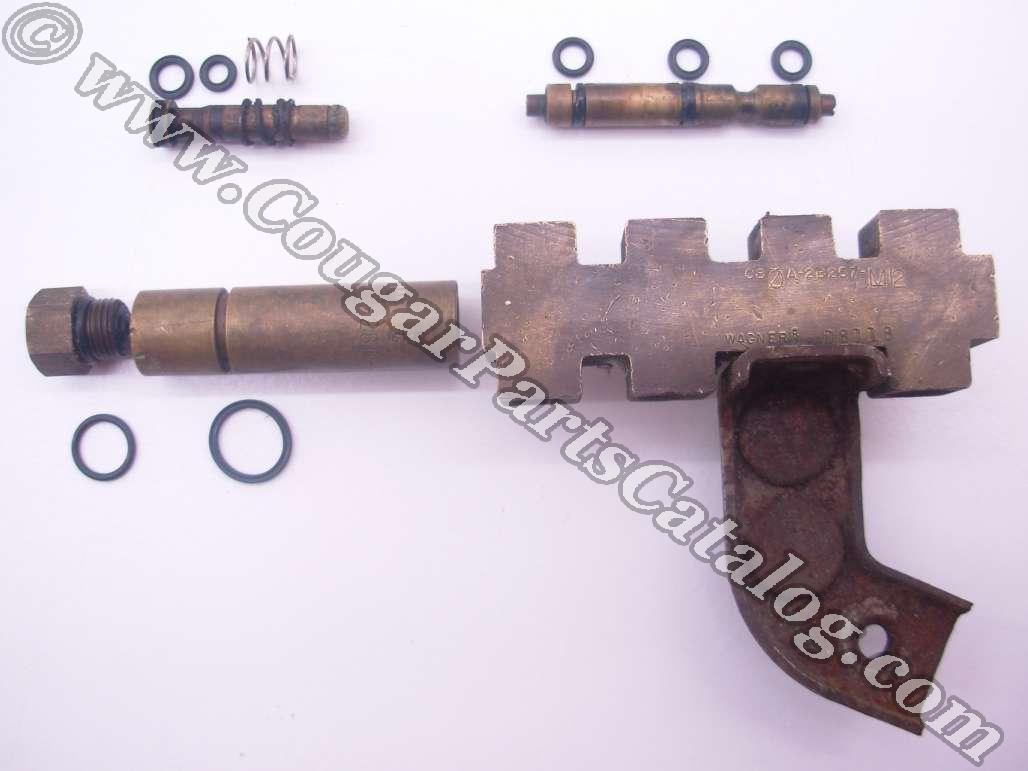
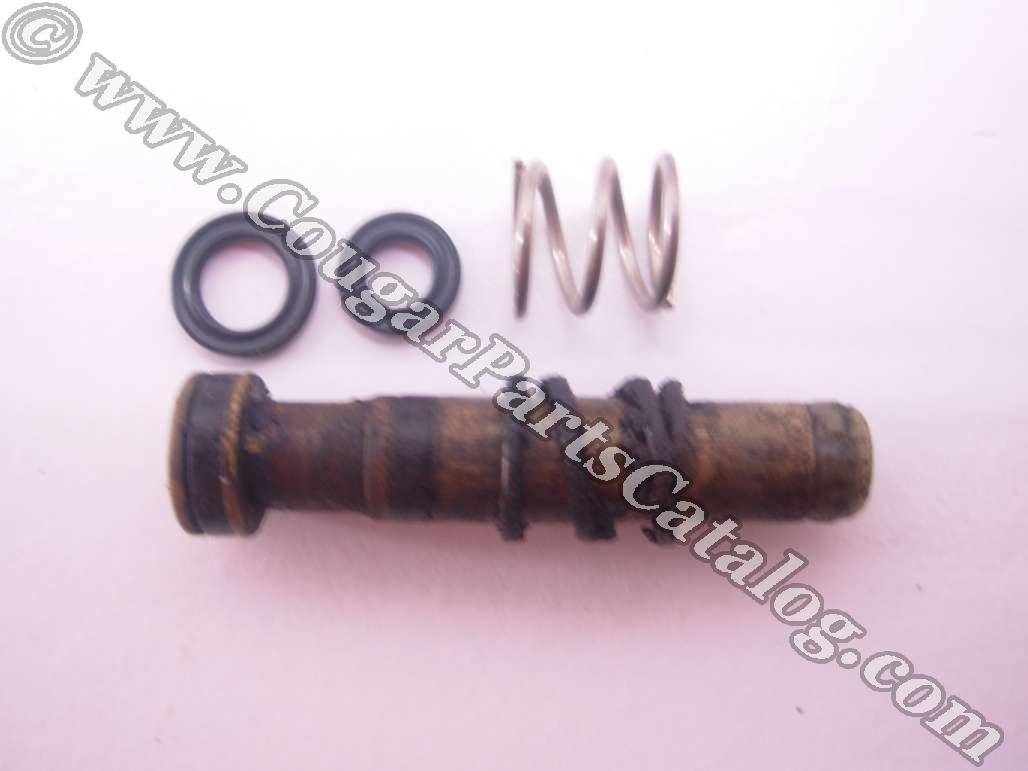
Notice the round "O" ring to the left in the picture below. Some units will appear to be square edged like the other two. The assumption is the ring just takes on the squared look from being compressed over time and becoming hardened.
