Contact Us / Visit Us (click here)
Due to an issue with the US Postal Service API, US Postal Service Rates are not available online at this time. Please choose the least expensive shipping option then put a note on your order if you would like us to manually calculate the USPS rates for your order.
International Customers Click Here [Updated 6/2024]
 
'https://cdn.cougparts.com/dc/11997/1402444427_f.jpg','https://cdn.cougparts.com/dc/11997/1402444499_a.jpg','https://cdn.cougparts.com/dc/11997/1402444428_o.jpg'
  • Rubber Bumpers - Grille / Headlight Eyelid Door - PREMIUM - EACH - Repro ~ 1967 - 1968 Mercury Cougar - 11997
  • Rubber Bumpers - Grille / Headlight Eyelid Door - PREMIUM - EACH - Repro ~ 1967 - 1968 Mercury Cougar - 11997
  • Rubber Bumpers - Grille / Headlight Eyelid Door - PREMIUM - EACH - Repro ~ 1967 - 1968 Mercury Cougar - 11997

Item #: 11997

MSRP:$9.99
You Save: $3.82 (38.2%)
Price: $6.17
    Cost: 494
    Earns: 25
    Bonus: 0

    Availability

    Out of Stock, Discontinued - Unknown

    Applications

    Description

    As of now, we no longer have a supplier for this part. It has been discontinued.

    You can find our alternative replacement bumpers here.

    Finally a solution to the sagging headlights on your 1967 - 1967 Mercury Cougar! If your headlight doors sag and no adjustment is left on the adjuster bolts then you will need to replace these as your old ones have broken down or have fallen off. Please take the time to view the pictures and read the text below to see why these are so much better than what has been previously offered to the Cougar community.

    Sold individually, Four used per car, 2 upper and 2 lower. The lower 2 are the most crucial as they help maintain the alignment of the grille eyelids.

    Replaces Ford part #: C5AZ-16758.
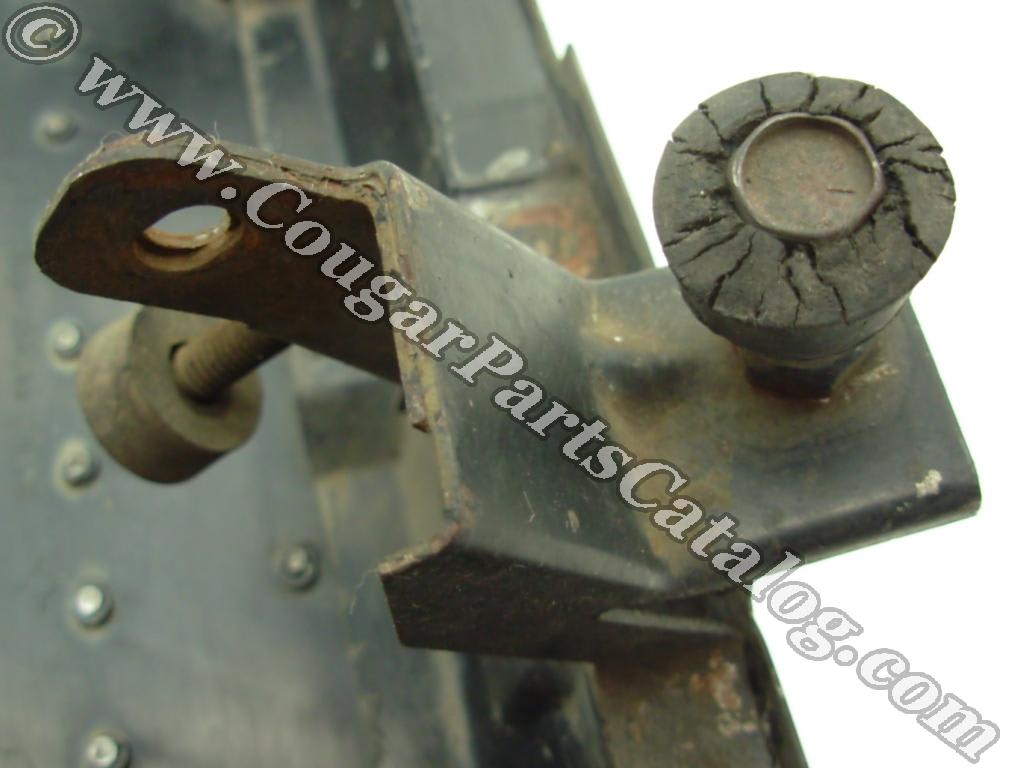
    Here is what many 40 year old stops look like.
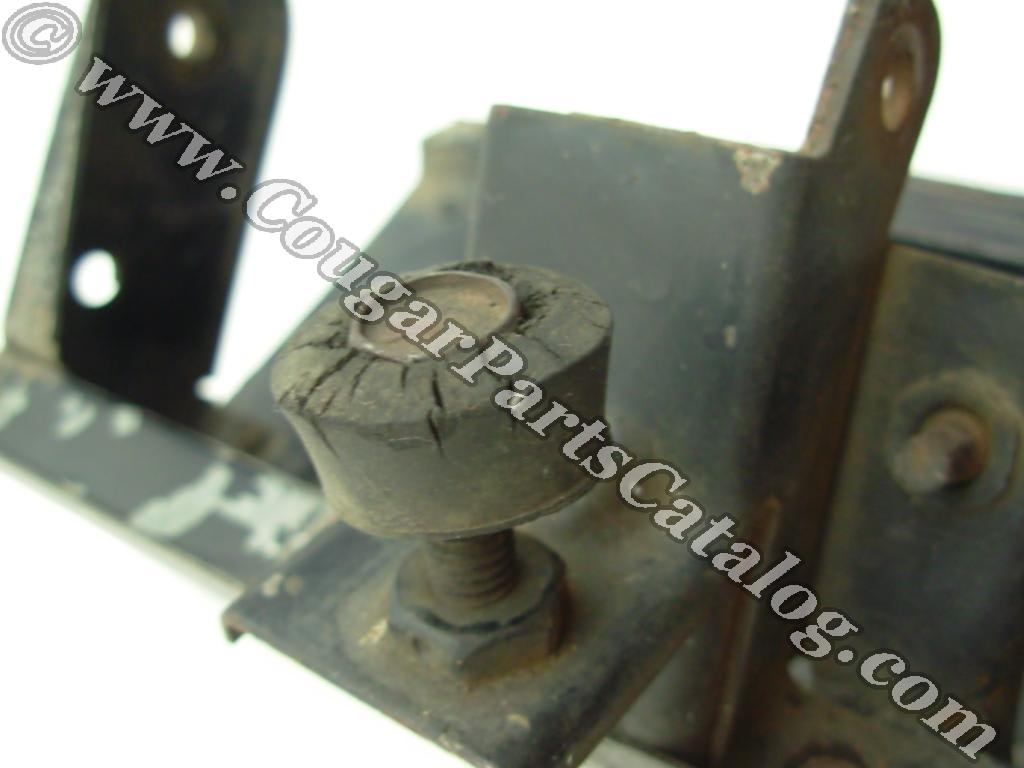
    Even if they are not falling apart they are looking like this as they have been compacted from use over the years. Not only are the Cougar grille eyelids heavy but the vacuum actuators that close them are very strong which puts most of the pressure on these critical little rubber parts.
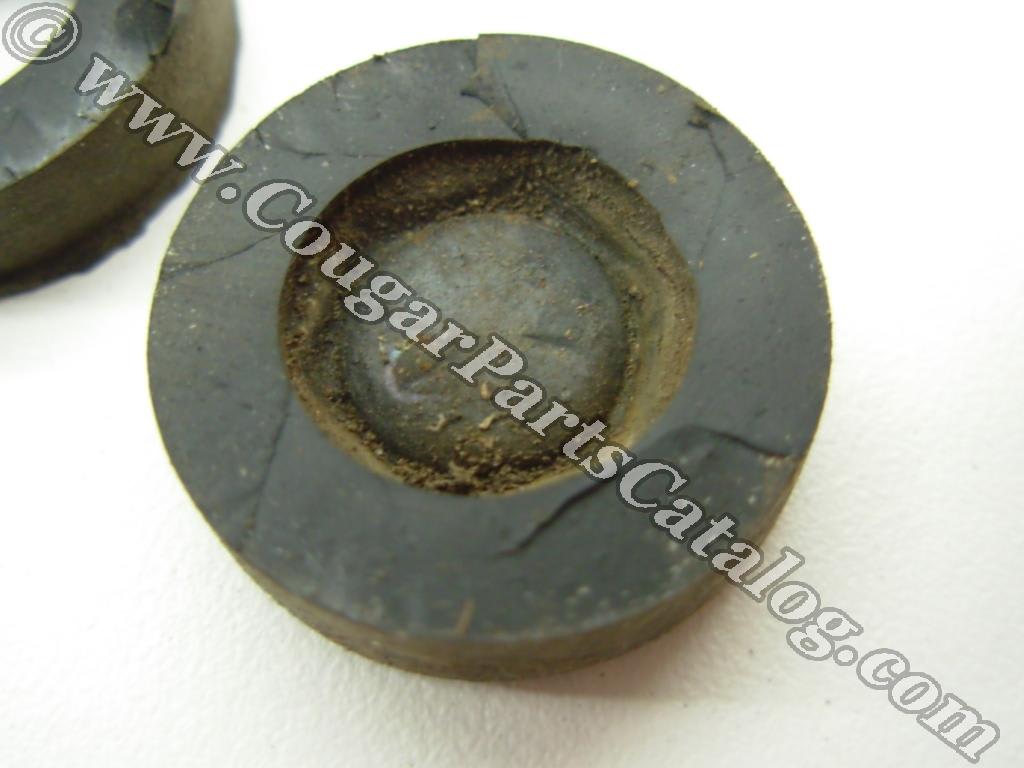
    We cut this old original bumper in half to show what is going on internally. Notice how the bolt has made a serious impact in the rubber. There are not enough threads on your adjuster bolts to compensate for this.
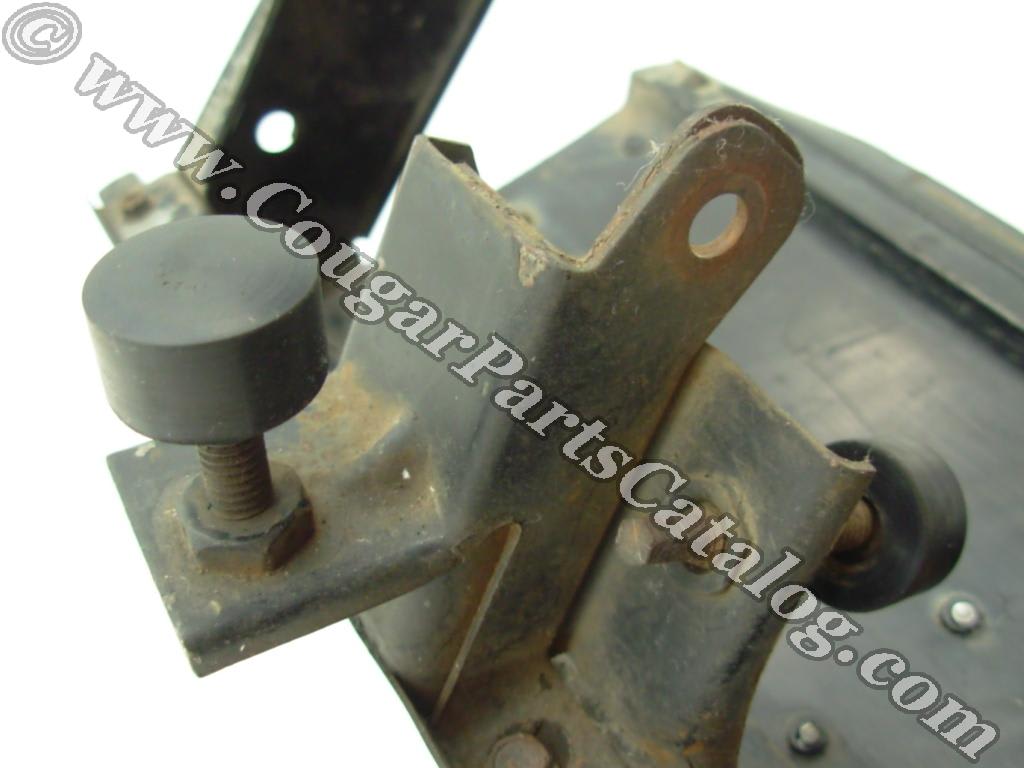
    This is a picture of the new bumpers (or stops) installed on the headlight cover. You will not need to readjust these every month like the lower quality reproductions.
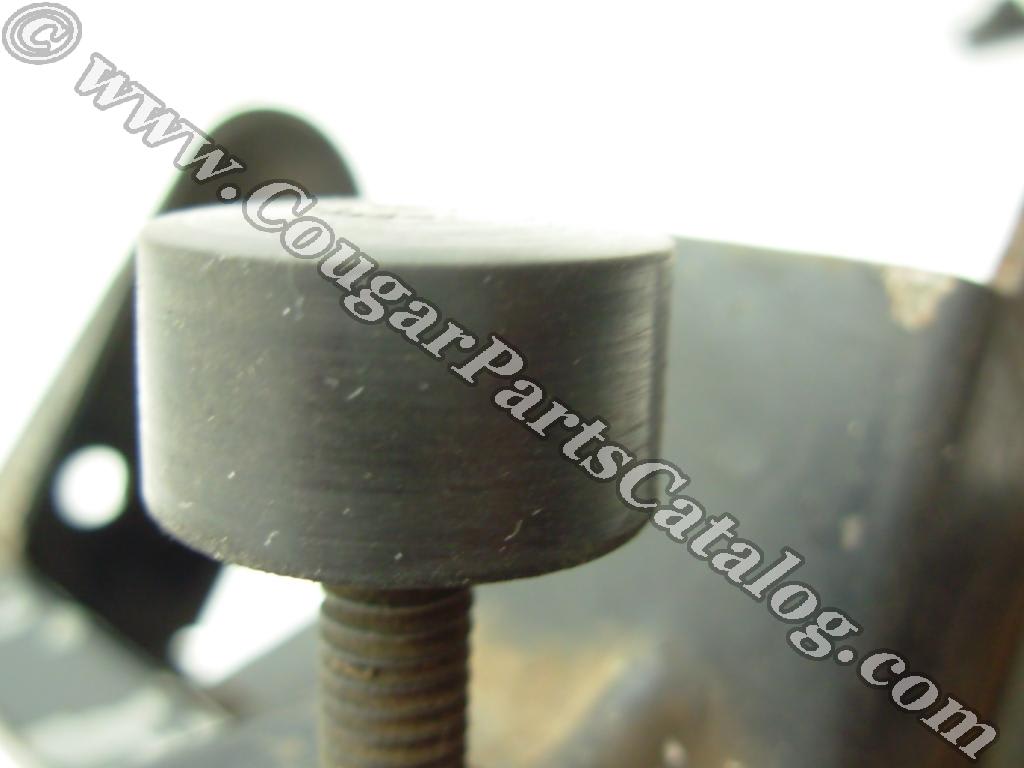
    Unless you have located some NOS rubber bumpers it is safe to say that every 1967 - 1968 needs these new parts.
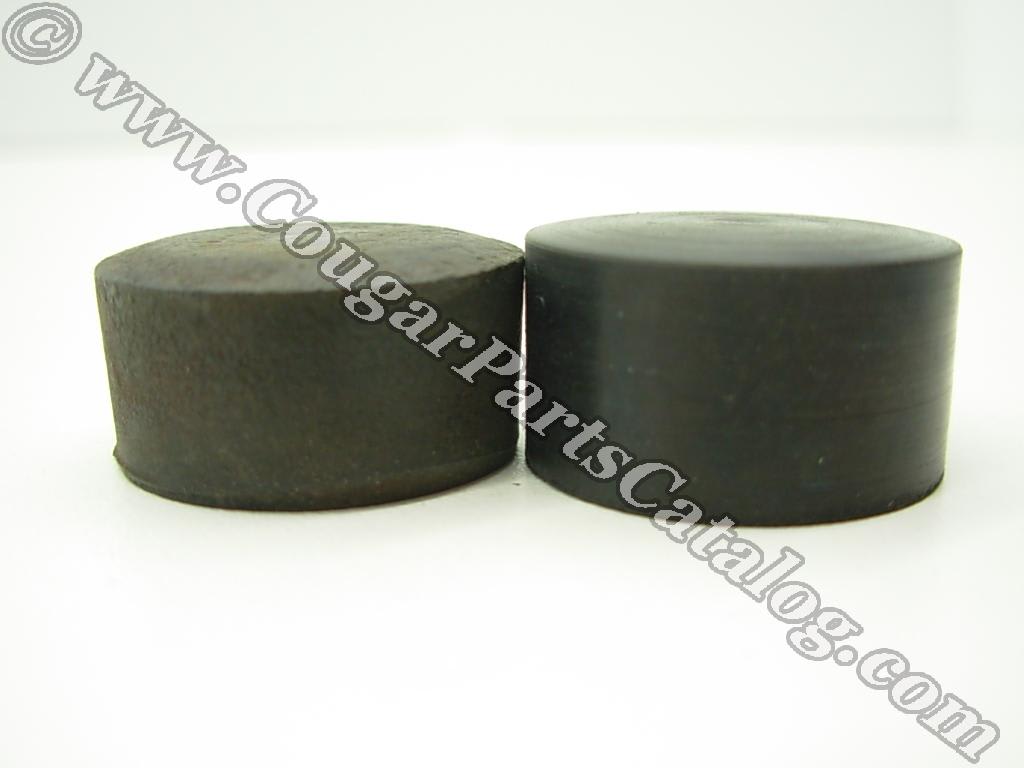
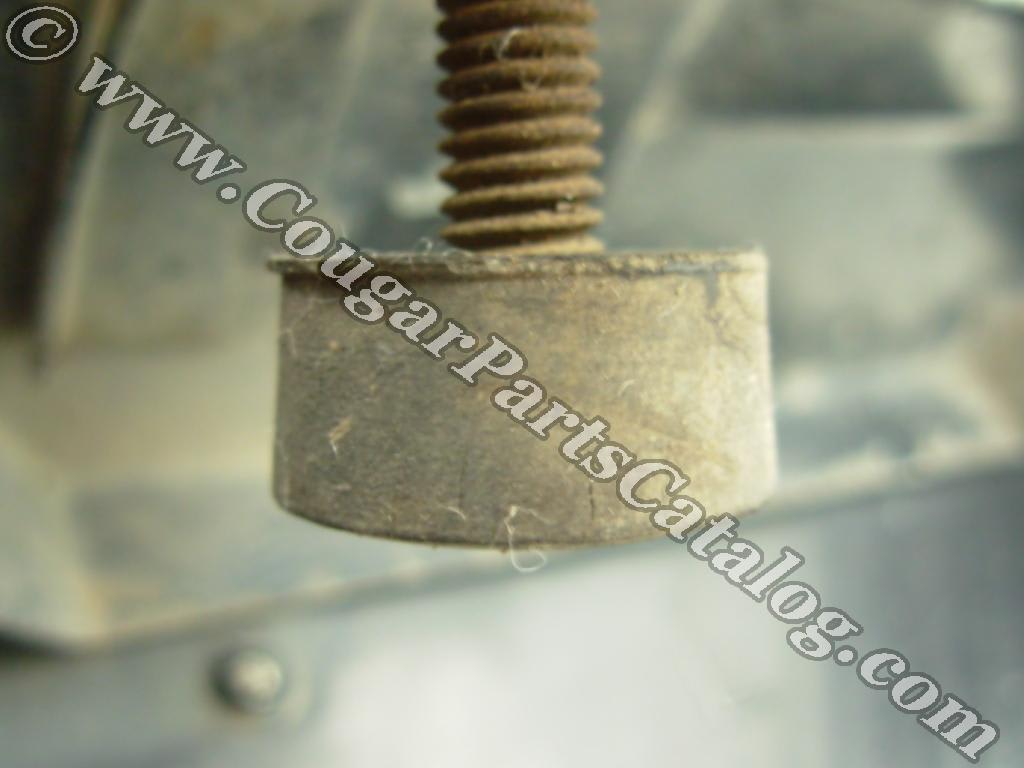
    Here is a picture comparing the very best used bumper we could locate in our salvage yard to our new reproduction. The height difference may not seem like much but keep in mind the majority of the collapsing has transpired inside where the bolt head has been driven into the bumper for decades. Replacing all four of these little rubber bumpers will alleviate major headaches for those who hate to see a misaligned grille!
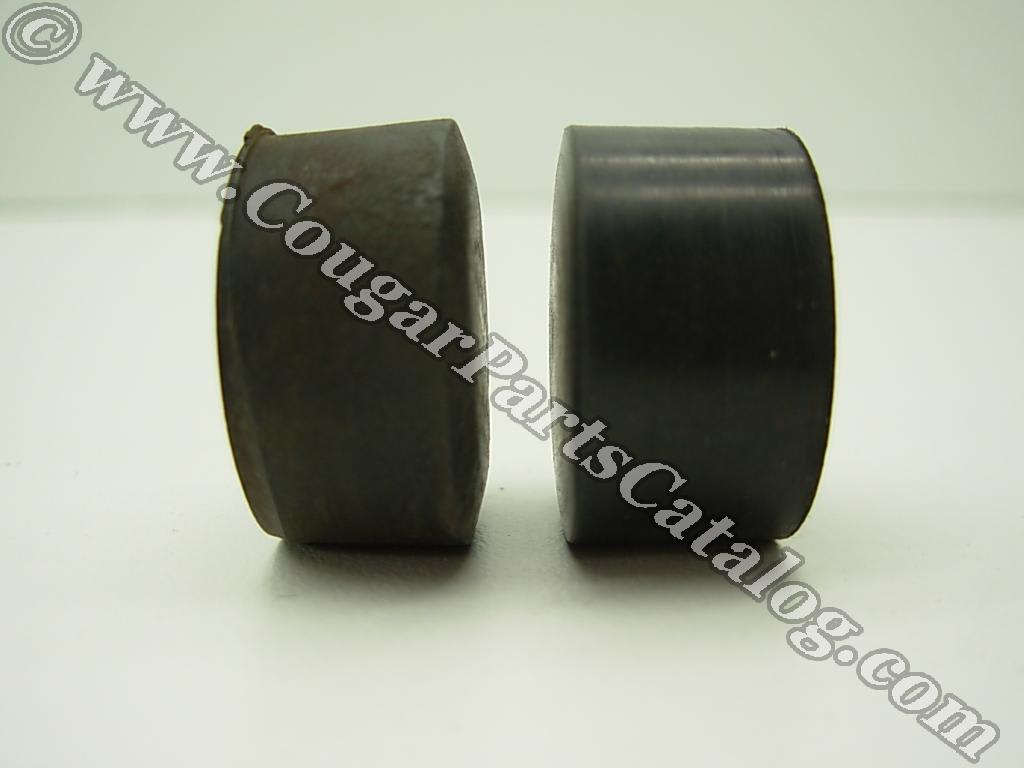
    Do you want to replace those worn out actuators yourself or are you looking for some great information on aligning the grille in your Cat? The videos below are your ticket!


    Specifications:
    Shipping Weight: 0.10 LBS
    (weight shown may be the dimensional weight)

    This item must ship via

    review-star review-star review-star review-star review-star

    4.78 out of 5 stars
    Based upon 8 Review(s).
    5 Stars
    63%
    4 Stars
    13%
    3 Stars
    0%
    2 Stars
    0%
    1 Stars
    0%

    5.00 out of 5
    Material:
    review-star review-star review-star review-star review-star
    Fit:
    review-star review-star review-star review-star review-star
    Craftsmanship:
    review-star review-star review-star review-star review-star
    Correctness:
    review-star review-star review-star review-star review-star
    Pros:
    Cons:
    With the elongated bolt these work great and fit great

    Northbay, California
    2014

    Fitment

    4.50 out of 5
    Material:
    review-star review-star review-star review-star review-star
    Fit:
    review-star review-star review-star review-star review-star
    Craftsmanship:
    review-star review-star review-star review-star review-star
    Correctness:
    review-star review-star review-star review-star review-star
    Pros:
    Cons:
    The new bumpers were not quite enough to be able to align the head light doors correctly. I recommend purchasing the longer bumper bolts, although these might be difficult to put in without removing the headlight door.

    SE Michigan
    2015

    Rubber bumpers to use with the elongated headlamp cover adjustment screw

    4.00 out of 5
    Material:
    review-star review-star review-star review-star review-star
    Fit:
    review-star review-star review-star review-star review-star
    Craftsmanship:
    review-star review-star review-star review-star review-star
    Correctness:
    review-star review-star review-star review-star review-star
    Pros:
    Cons:
    • a%20bit%20tight%20to%20install
    • %20I%20don%27t%20think%20th
    The elongated adjustment screw allow the headlight covers to finally be adjusted to match the grill position (on either side of the headlight cover).
    Before attempting to install the elongated bolt/bumper it would be wise to do the following:
    - Spray all threads of the original adjustment bolts with a penetrating oil.
    - Once the old headlamp (closed position) adjustment bolt is removed, chase the threaded hole from above with a 5/16" x 18 tap to clean it up the original nut threads.
    - Install the elongated bolt into the top of the threaded hole (backwards) and use a 1/2" socket to run it down about half way to make sure the nut hole threads will not bind.
    - Back-out the elongated adjustment bolt (from the top), install the rubber bumper and proceed to install the elongated adjustment bolt/bumper combination from the underside of the rear of the headlamp cover
    - With the vacuum switch "open" to allow manual positioning of the headlamp cover, tilt the headlamp cover ~ 1/2 way open (or more, if you can get you hand behind the cover) and reach behind the headlamp cover with the 7/32" hex of the elongated adjustment bolt pointing up and carefully slip the 7/32" hex into the threaded nut hole. This step may take a few tries and some patience.
    - Try to rotate the elongated bolt counter clock-wise by hand to start the elongated bolt into the threads
    - Once the threads start, place the 7/32" socket over the 7/32" hex (protruding through the nut threaded hole) and rotate counter clock-wise to bring the elongated bolt up into position. If there is any binding, you may be cross threading the adjustment bolt, so proceed carefully, possibly backing the adjustment bolt back down (clock-wise) until there is no binding and start threading the elongated adjustment bolt into the nut again.
    - Once the elongated adjusting bolt can turn freely, adjust the headlamp cover to match the surrounding grill position.

    I did this and then installed the headlamp cover "spacer kit" to try to get the covers "straight" and non binding on the surrounding grill sections. I am at week 1 into a 3-4 week process, so we will see if this works

    Northbay, California
    2014

    5.00 out of 5
    Material:
    review-star review-star review-star review-star review-star
    Fit:
    review-star review-star review-star review-star review-star
    Craftsmanship:
    review-star review-star review-star review-star review-star
    Correctness:
    review-star review-star review-star review-star review-star
    Pros:
    Cons:
    Product was exactly as promised. Fitment was perfect.

    5.00 out of 5
    Material:
    review-star review-star review-star review-star review-star
    Fit:
    review-star review-star review-star review-star review-star
    Craftsmanship:
    review-star review-star review-star review-star review-star
    Correctness:
    review-star review-star review-star review-star review-star
    Pros:
    Cons:
    perfect match

    Number of questions: 0
    Please login to ask a question.

    Why am I being warned about potential exposure to chemicals in motor vehicle parts?


    • Some chemicals in motor vehicle parts are on the Proposition 65 list because they can cause cancer and/or birth defects or other reproductive harm.
    • When purchasing USED or NOS items, we do not know if listed chemicals are present in these products.
    • This product is known to contain the following listed chemicals:
    I bought my 69 Cougar in Jul of '09 as a retirement from the Army gift to myself. From day 1 it had intermittent heating problems that I tried to fix. I changed the radiator, thermostat, water pump, and added 2 12 in 1400 cfm electric cooling...
    - MartinD
    My 1971 Cougar XR7 was retrofitted with a Ford “400”, Edelbrock intake and 4 barrel carb, TCI Street Fighter trans, B & M Hammer shifter, and dual turbo exhaust. While this sounds interesting, the Cougar itself was seriously neglected and...
    - Frank
    Just got my quarter window glass installed in my restored quarter window frames; could not be happier! ...
    - Mike Dunlap
    WCCC hooked me up with an original glove box cable and the correct screws WITH shoulders for my glove box. Their listing for these screws explains that the original screws have a shoulder for the cable and most people put in the wrong screws--which...
    - Jim Davis
    I have been a cougar owner for just shy of 30 years, I have been dealing with part problems for a very long time. The people at WCCC have always be honest, and overly helpfull. I now have a 1970 XR-7 mostly rebuilt, and my son has a 1968 base...
    - Voodochild5
    What did you LIKE about your experience? * : I am fairly new to WCCC, four or five orders (at the time of writing), but I am blessed to have found WCCC for sure. I had a small problem, couldn't find anything to work for the condensation drain on my...
    - Kenneth Milden
    I have been working with Don Rush and his team for close to 20 years. In all of these years with many sales transactions I can say they have been 2nd to none. They have always been not only helpful but extremely knowledgeable. I certainly continue...
    - Denver
    I have made many purchases online with WCCC but chose this time to make a 1400 mile round trip and visited them in person. I brought a van load of parts with me that needed a home. Don helped unload them then quickly assessed the value which I...
    - pandamonium2112
    I just wanted to let you know that my order which was shipped (via UPS Mail Innovations) December 05 was at my front door, having gone thru Canada customs, on December 16. It arrived in excellent shape. Kudos to you guys, UPS, and the USPS for...
    - Rod (Saskatchewan, Canada)
    I liked that I could see a picture of parts and that you could type in what you were looking for. What was handy for me was the ability to chat with Darrell. He was a big help. Also high on the you gotta keep on staff was Joshua, I had some issues...
    - Rod (Canada)
    I6EE13