This listing is for a used power window switch, tested and in working condition.
-1028.jpg)
This is the stock wiring configuration.
-1028.jpg)
Open the plastic holder by moving these small clips aside...
-1028.jpg)
...and this is what you'll see on the inside.
-1028.jpg)
Rearrange the wires so that they look like this:
-1028.jpg)
Note: You may need to bend the wires to seat properly in the new position. Next, carefully close the lid, making sure the connectors are properly aligned in the holes. This is what it looks like when you're finished:
-1028.jpg)
You should now be able to use our reproduction switch to operate your 1970 XR7 power convertible top!
If you already have a good used button, you can opt to modify a reproduction power window switch yourself like we've done for the product shown on this page. Here's how.
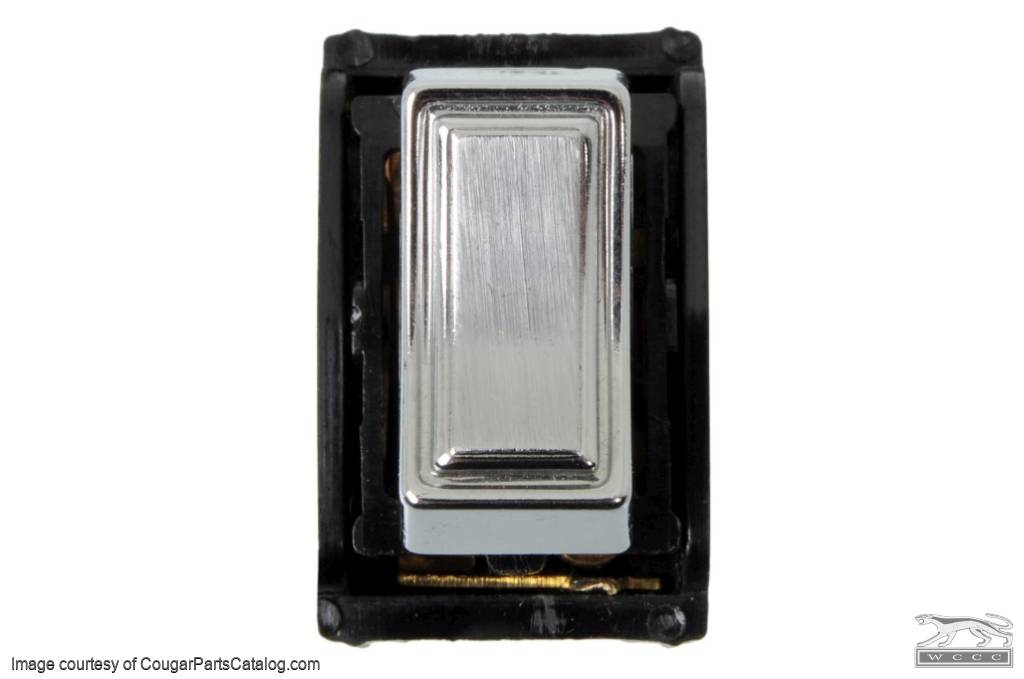
The reproduction power window switch has 6 pins on the back, and looks like this on the front. As you can see, this button is different from the center dash switches. In fact, it is bigger and won't fit in your center dash. Luckily, a used center dash switch will fit in its place.
-1028.jpg)
Notice the size difference between the buttons - power window button on the left, center dash button on the right.
-1028.jpg)
Use an awl to poke the tab on the side of the switch to release the rocker button assembly.
-1028.jpg)
This is what the inside looks like. Notice the brass tabs on the upper left and lower right. You will be bending these up and cutting them off.
-1028.jpg)
You can use a pair of needle-nose pliers to bend the tabs up.
-1028.jpg)
Next, cut the tabs off with some good wire cutters.
-1028.jpg)
For good measure, file down the jagged edges of the cut off tabs, and the inside will now look like this:
-1028.jpg)
Now install your good used 1969-1970 center dash button, and you're almost done!
-1028.jpg)
Lastly, you'll need to cut / file off the plastic tab on the side of the switch housing, so that it will fit in your dash. When you're done, it should look like the picture below. You should now have a working convertible top switch for your 1970 XR7.